Installing Linux
In this blog I will write about the installation of 3 of linux operating systems : Ubuntu, Debian & MX Linux, via WSL2 and VMware Workstation 16 Player.
- Installing Ubuntu 22.04 LTS with WSL2.
- Installing Linux on VMware Workstation 16 Player Virtual Machine.
Installing Ubuntu 22.04 LTS with WSL2.
In order to use WSL2. We have to start by downloading Windows Subsystem for Linux Preview from Microsoft store.
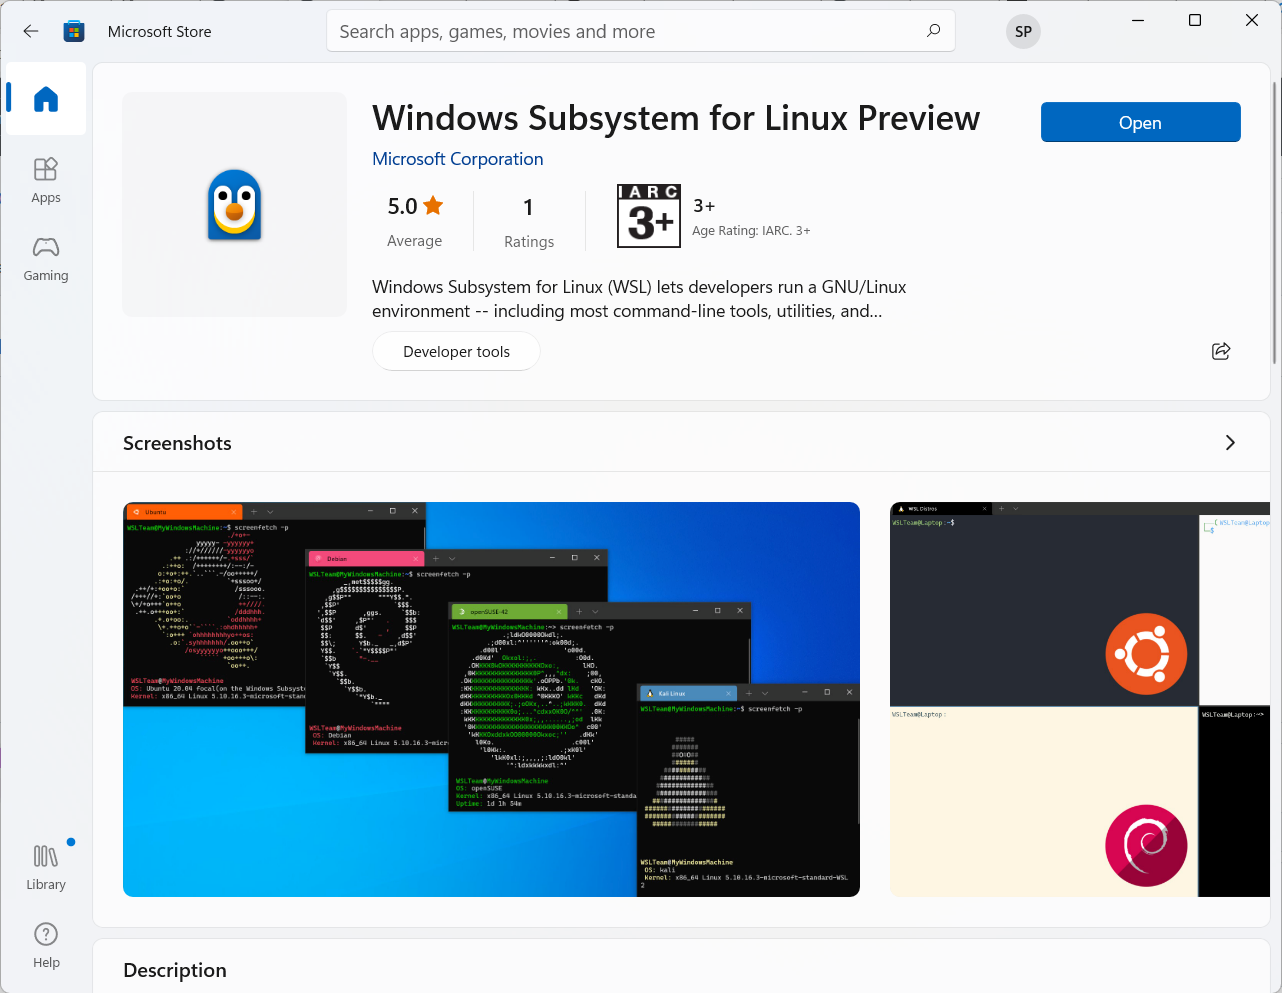
You can open Windows Subsystem for Linux Preview now but it won’t be useful until we install a distribution.
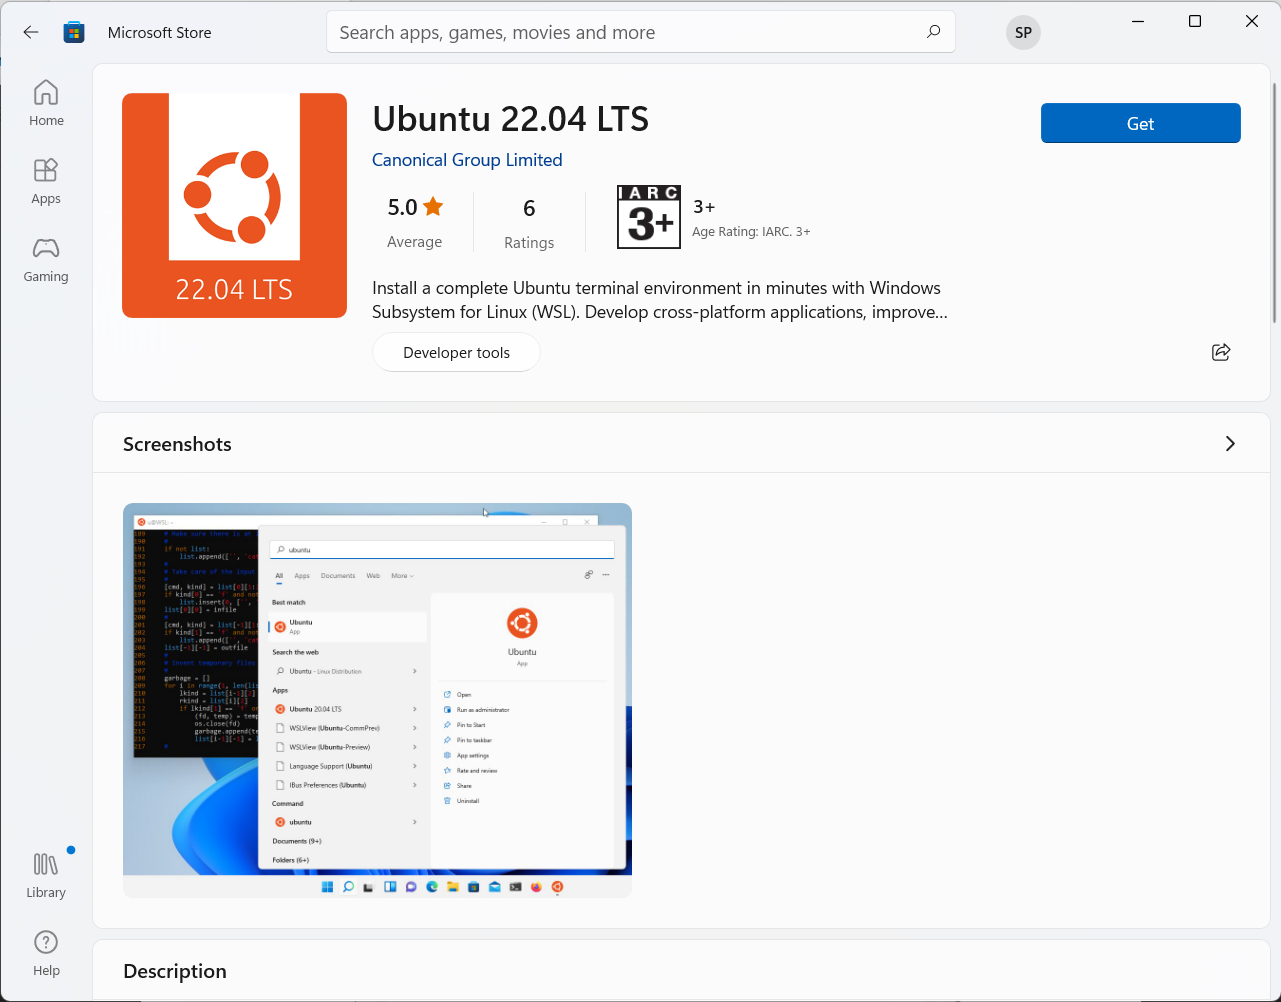
After that download Ubuntu 22.04 LTS from Microsoft store.
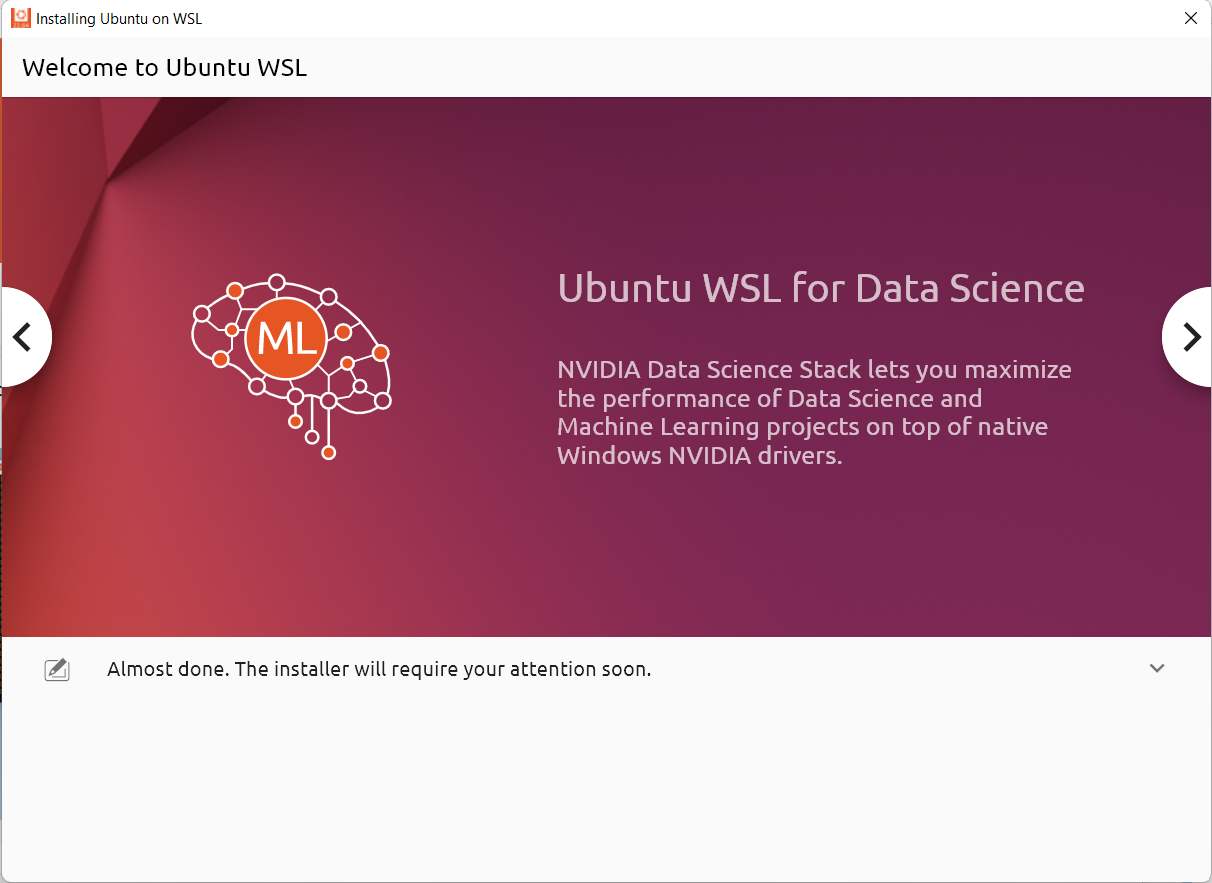
Then open the downloaded Ubuntu. This will start the installation of Ubuntu 22.04 LTS, asssuming you have already downloaded Windows Subsystem for Linux Preview.
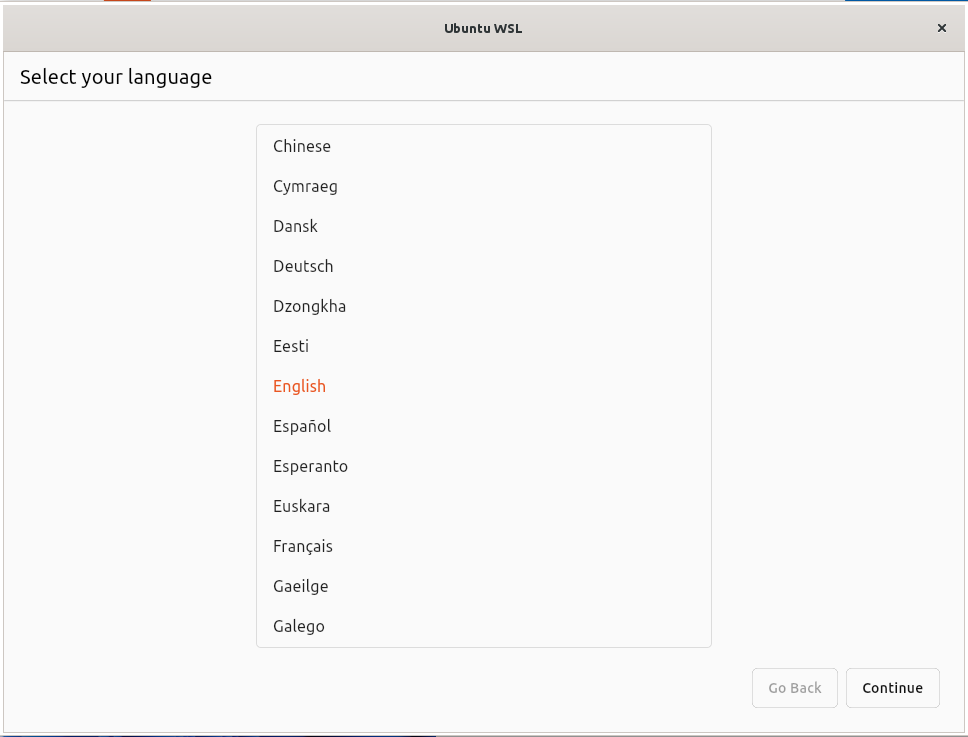
Then select you language.
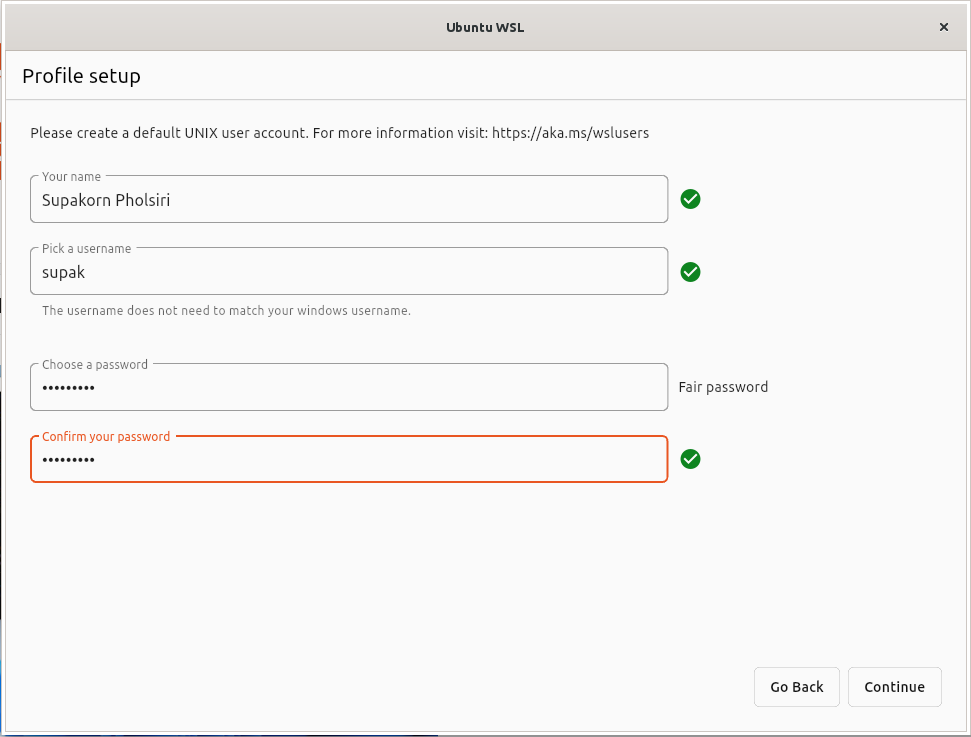
Setup your profile.
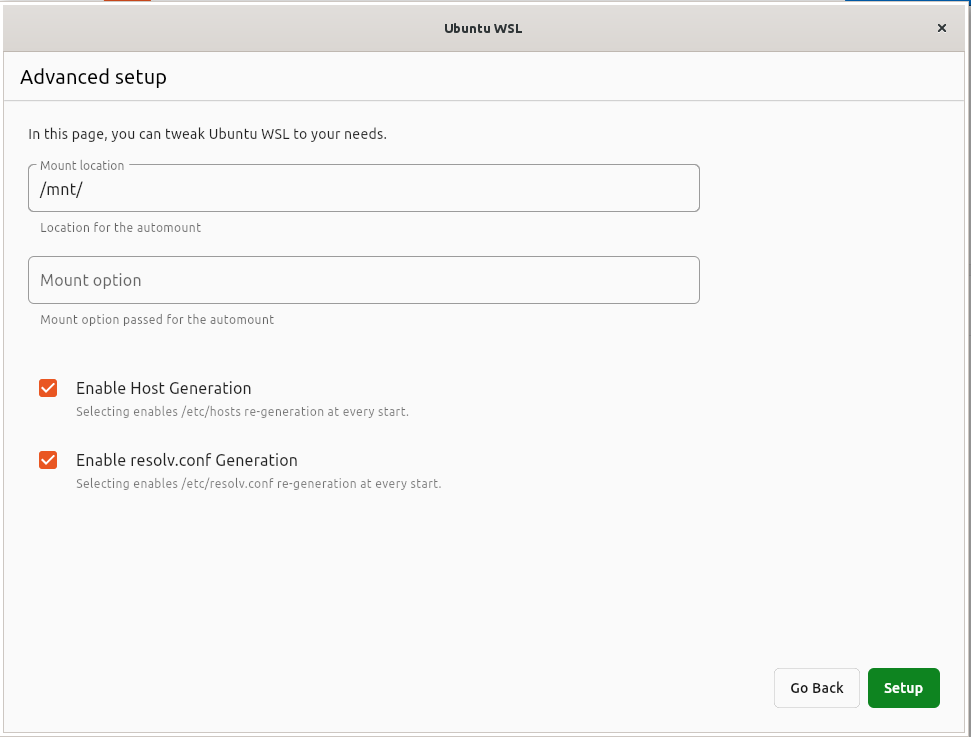
You can leave this section as it is and continue.
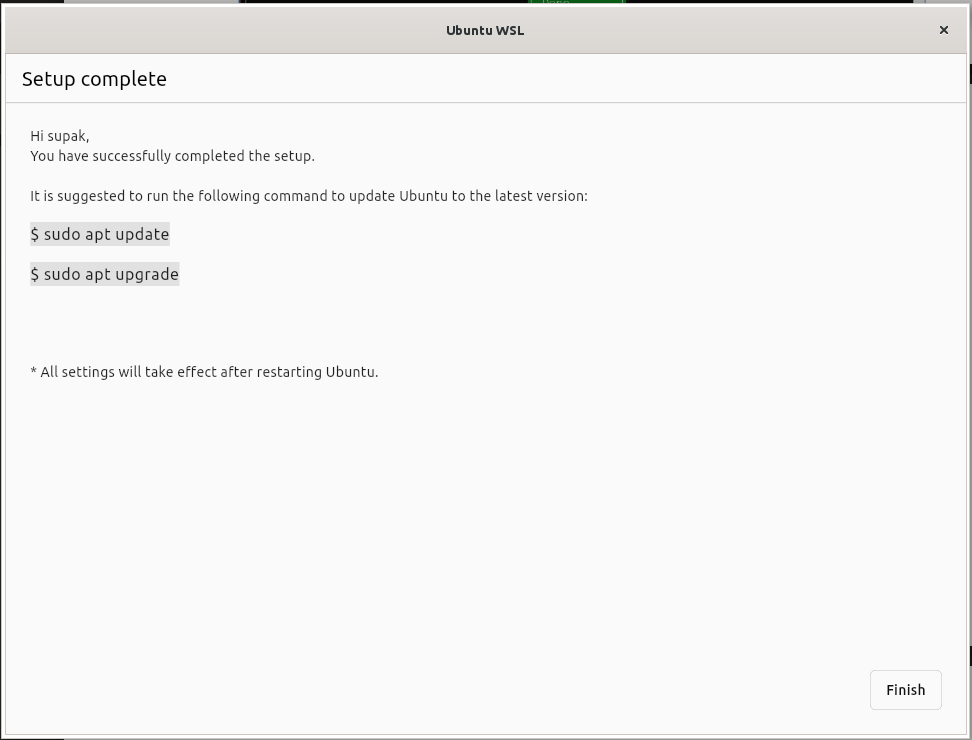
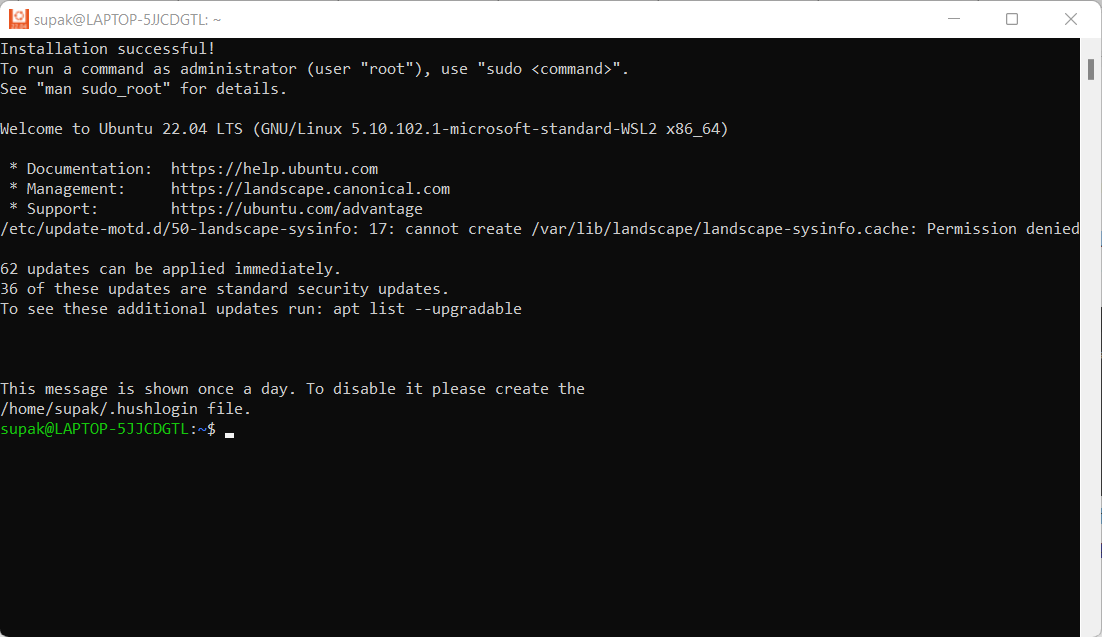
The installation is complete!
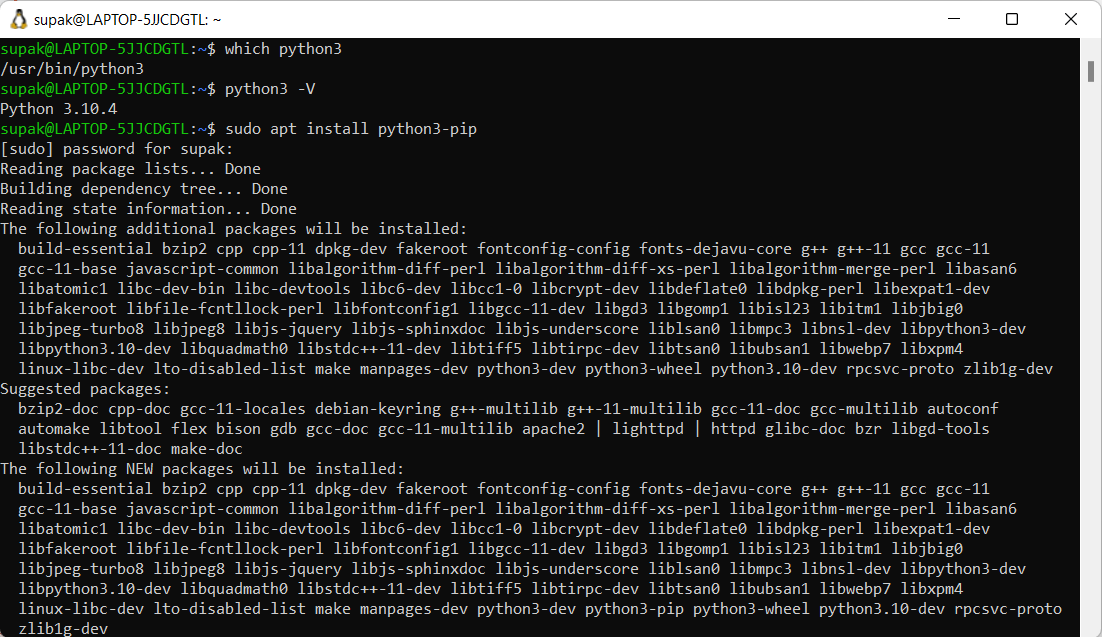
After that you will be greeted with a terminal.
Try updating and upgrading all software by :
- Check for any upgradable softwares.
$ sudo apt update -y - Upgrade all upgradable softwares.
$ sudo apt upgrade -y
Then terminate Ubuntu so the settings can be applied.
wsl -t Ubuntu-22.04
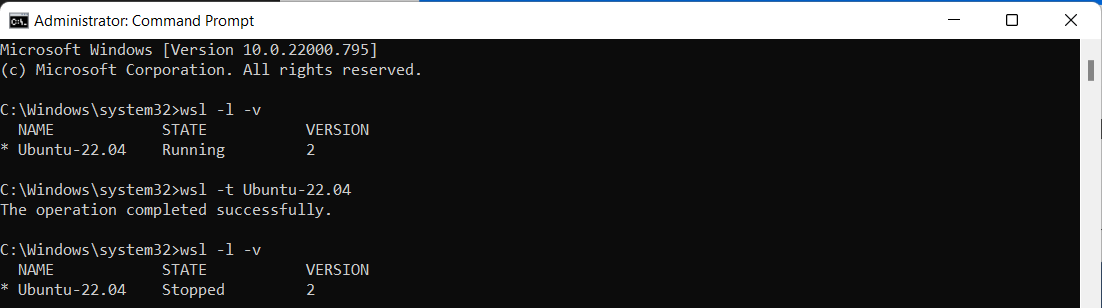
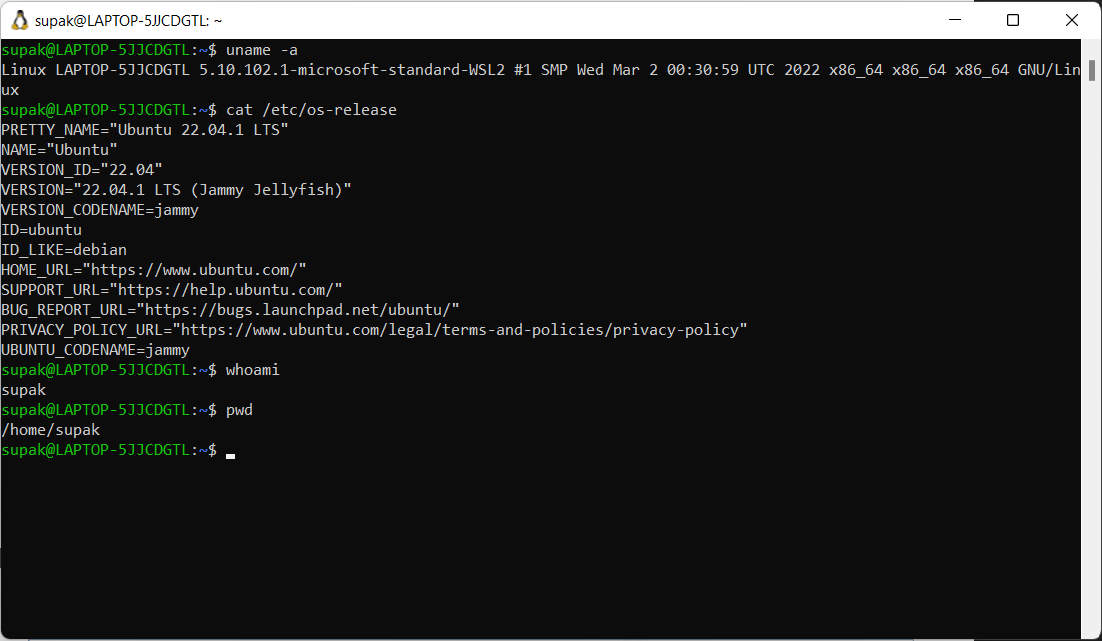
After open WSL2 or Ubuntu again all the settings are applied and Ubuntu is ready to be used.
Installing Linux on VMware Workstation 16 Player Virtual Machine.
- Installing VMware Workstation 16 Player.
- Installing Debian 11.4 on VMware Workstation 16 Player Virtual Machine.
- Installing MX Linux on VMware Workstation 16 Player Virtual Machine.
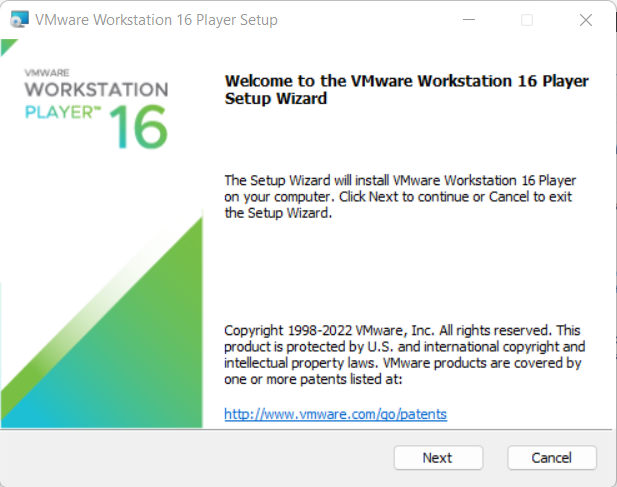
Installing VMware Workstation 16 Player.
Start by Downloading VMware Workstation 16 Player from https://www.vmware.com/products/workstation-player.html.

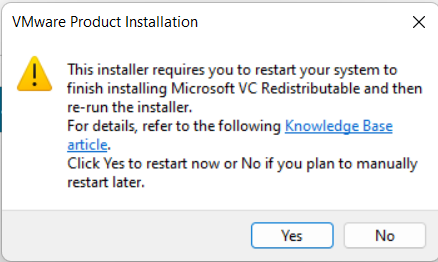
After opening the installer, when this window pop up, restart your computer to let Windows finish the neccessary updates.
Open the installer again.
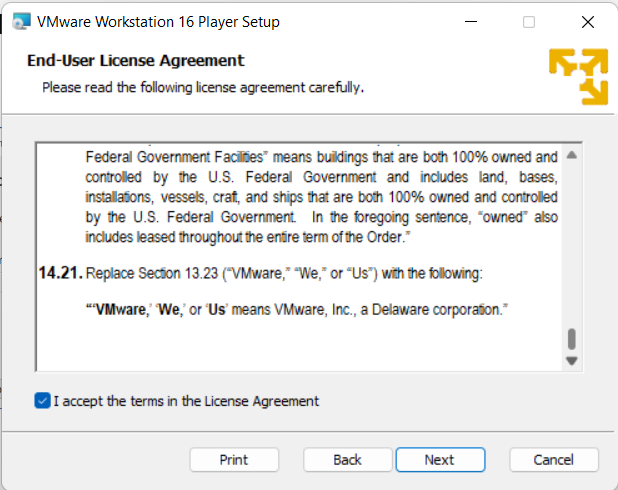
Accept the terms in License Agreement.
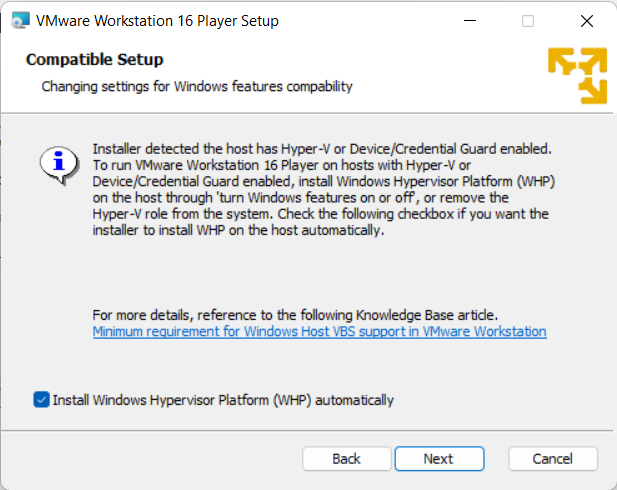
Tick Install Windows Hypervisor Platform (WHP) automatically.
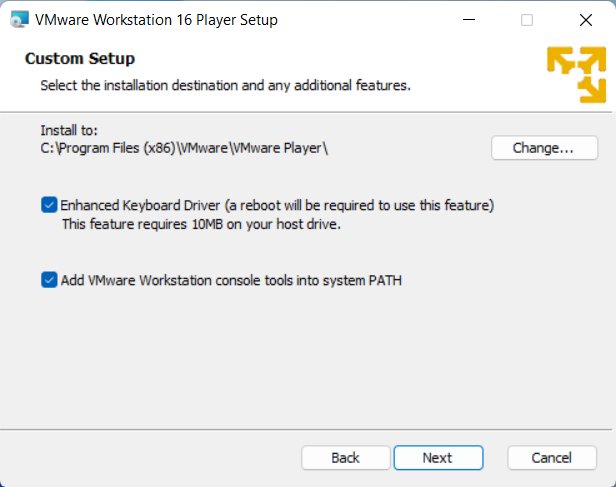
Tick both options.
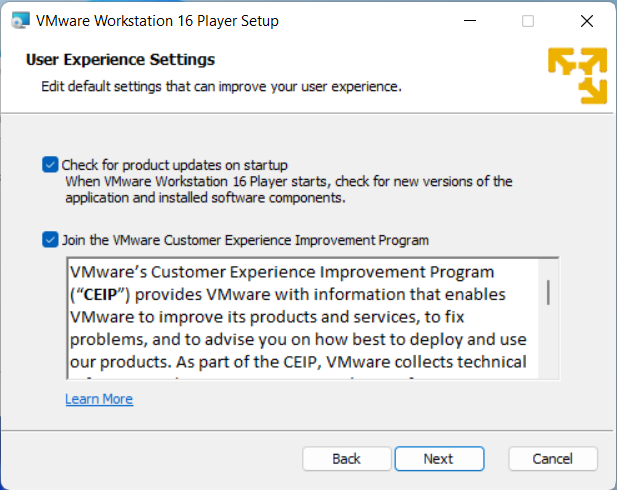
Tick both options.
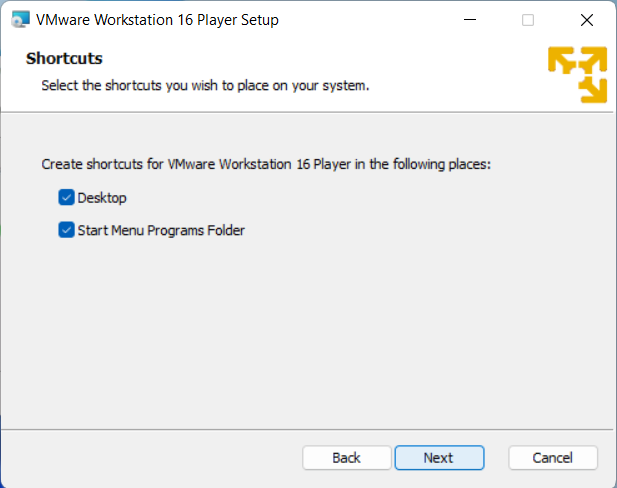
Tick where you want VMware Workstation 16 Player’s shortcut to be in.
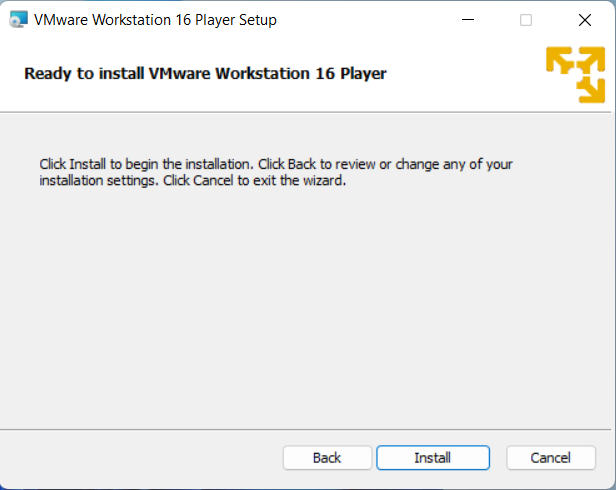
Begin the installation.
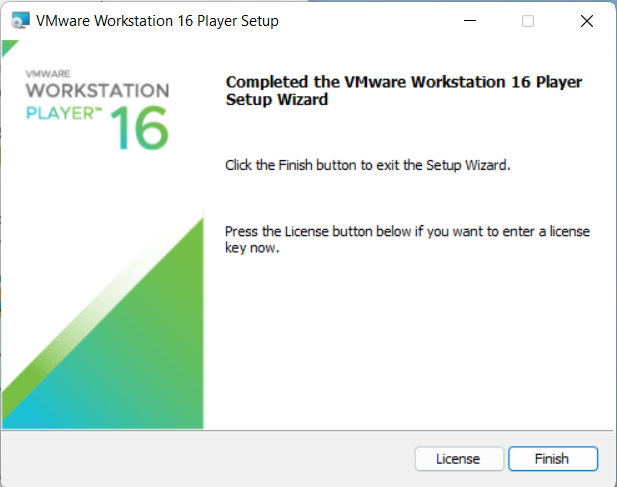
Click Finish.
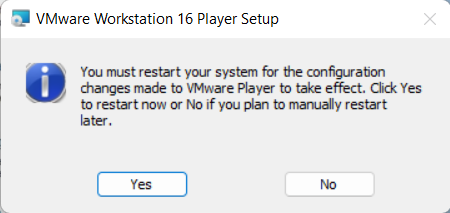
Restart your computer to let VMware Workstation 16 Player finish setting up its configuration.
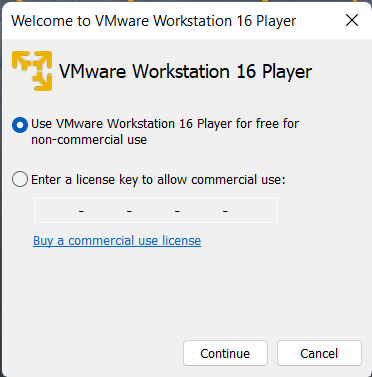
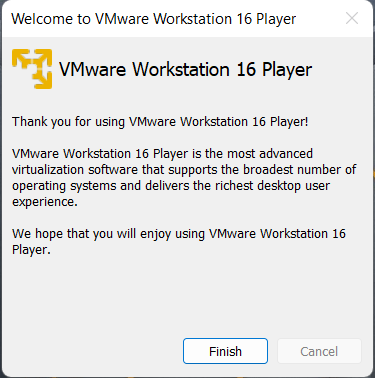
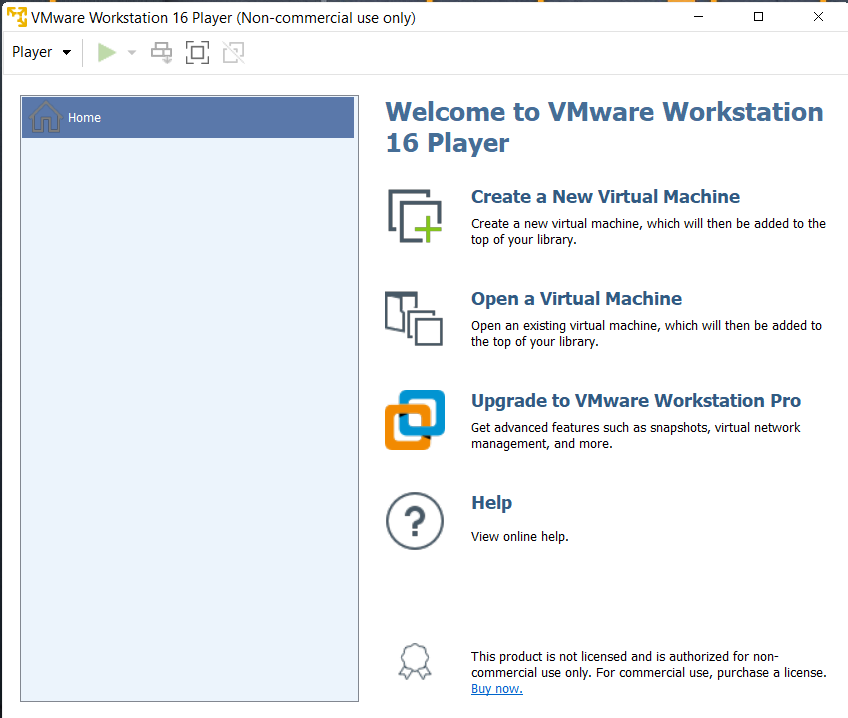
Open VMware Workstation 16 Player. You can use VMware Workstation 16 Player for free for non-commercial use.
Now VMware Workstation 16 Player is ready to be used.
Installing Debian 11.4 on VMware Workstation 16 Player Virtual Machine.
Start by downloading Debian 11.4 iso image from https://www.debian.org/distrib
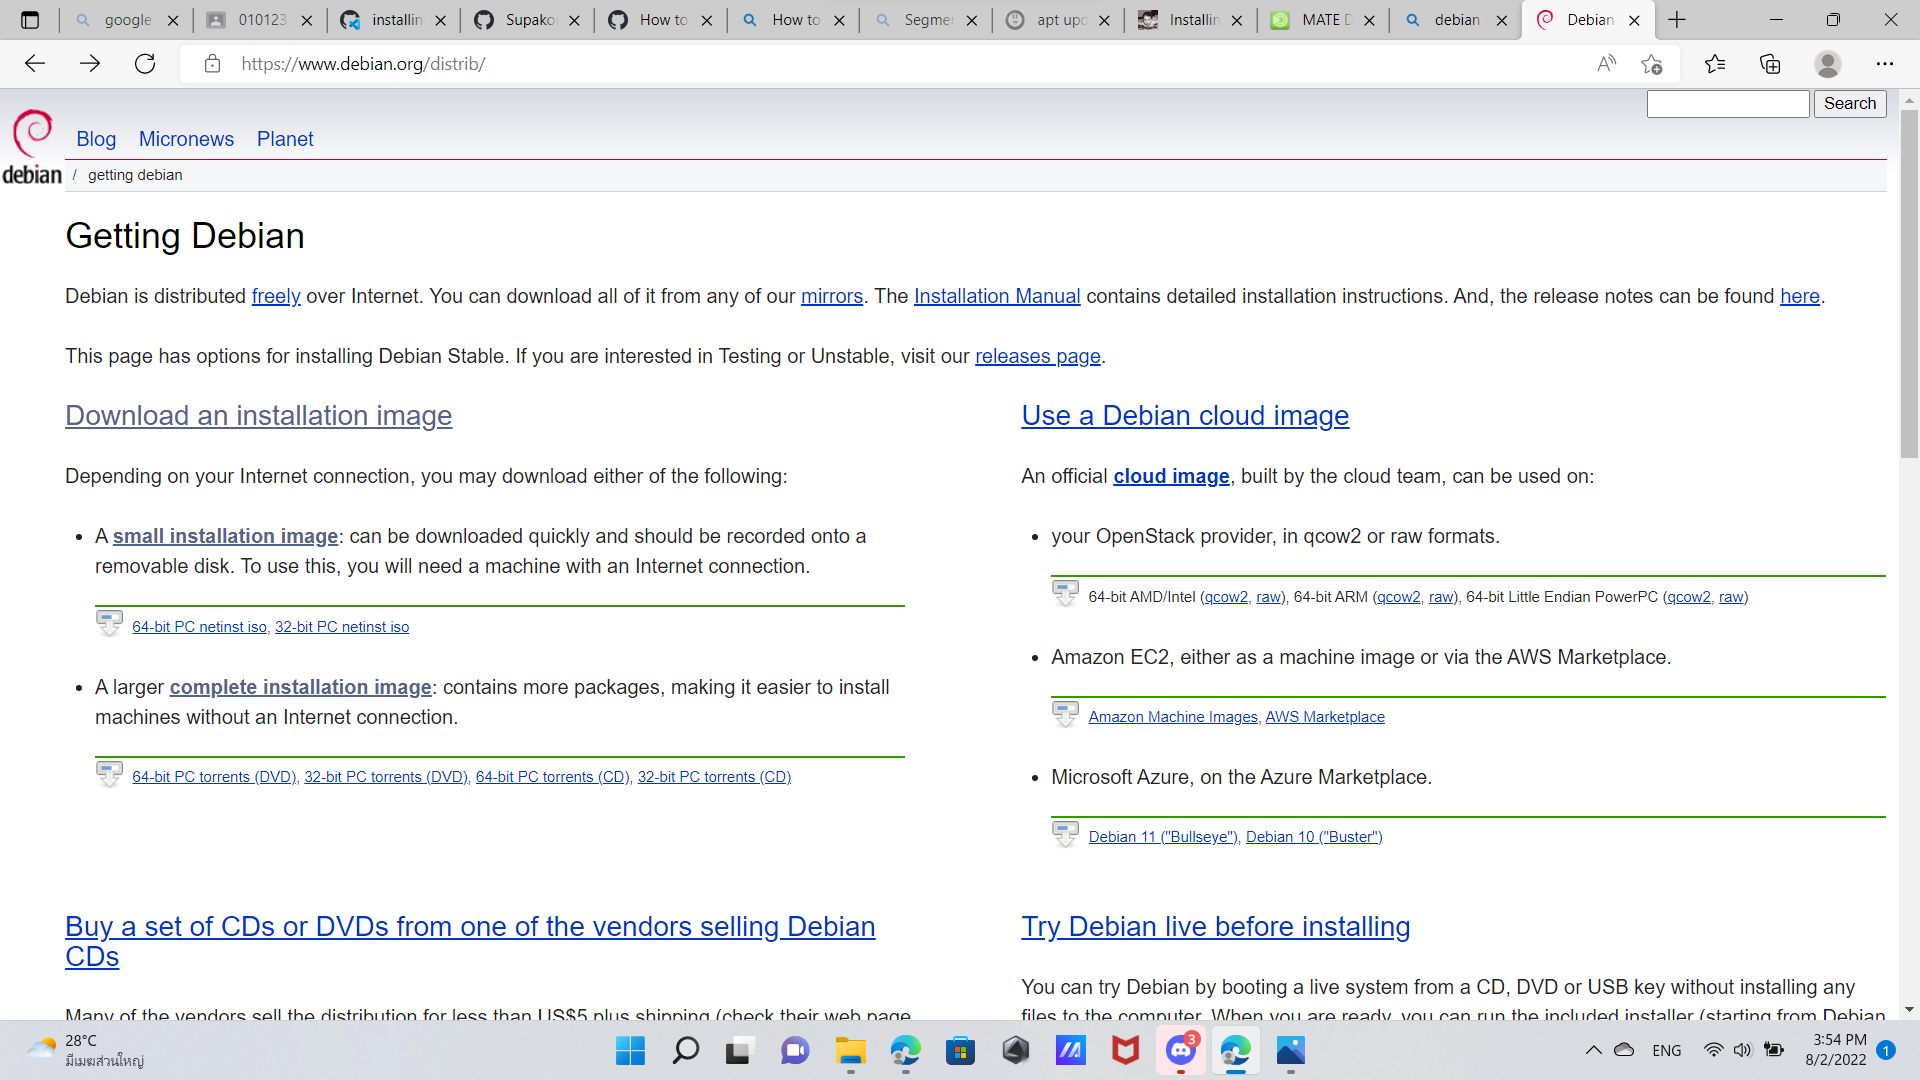
This blog will only cover how to install Debian via the Internet using Small CDs or USB sticks option.
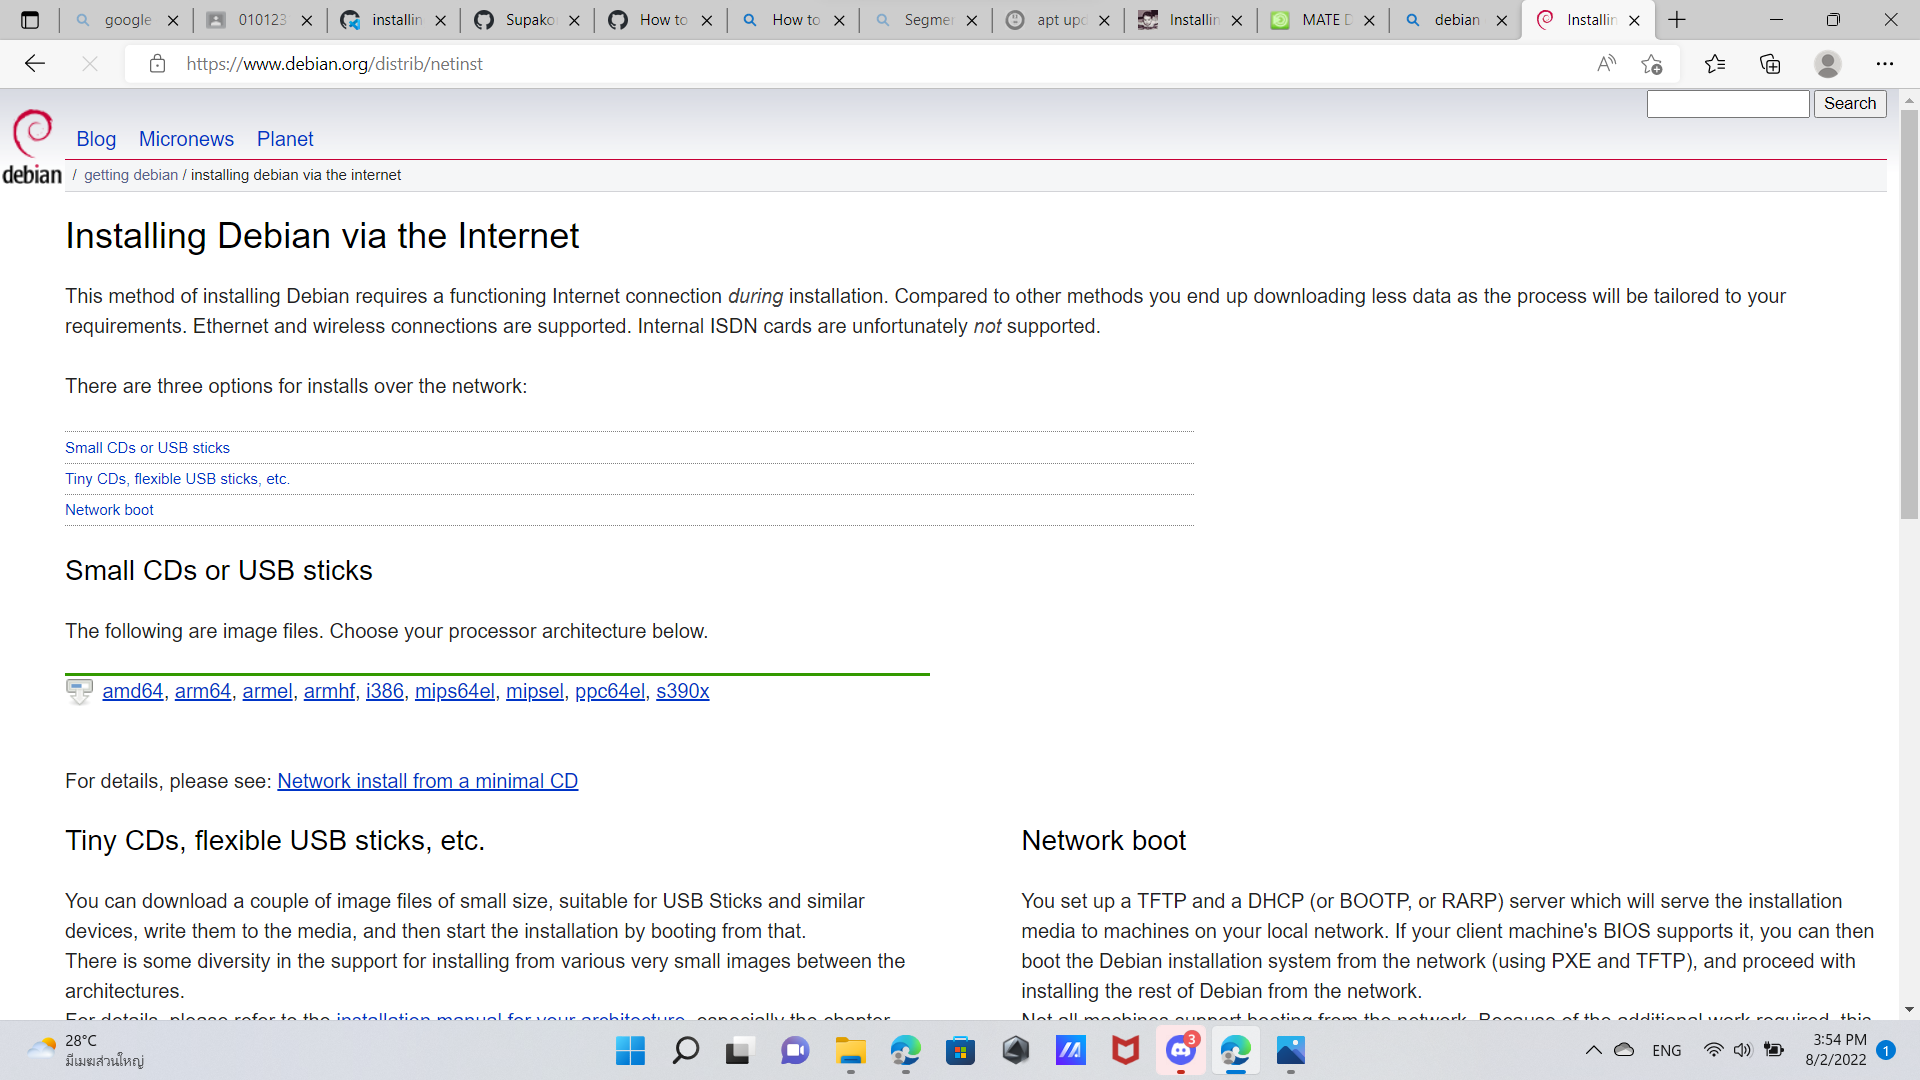
https://www.debian.org/distrib/netinst
For x64 download amd64.
For x32 download i386.
Open VMware Workstation 16 Player. Create a new virtual machine.
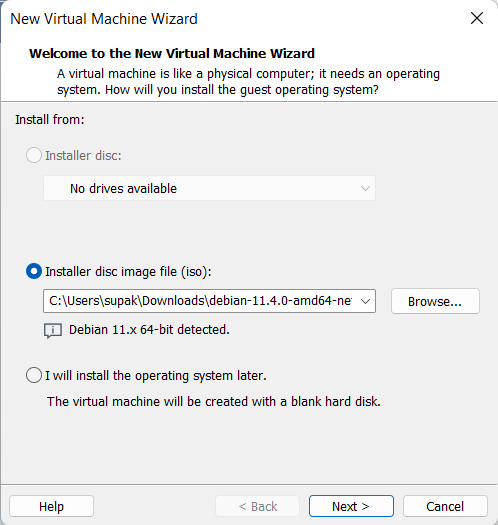
Install the guest OS with the downloaded iso file.
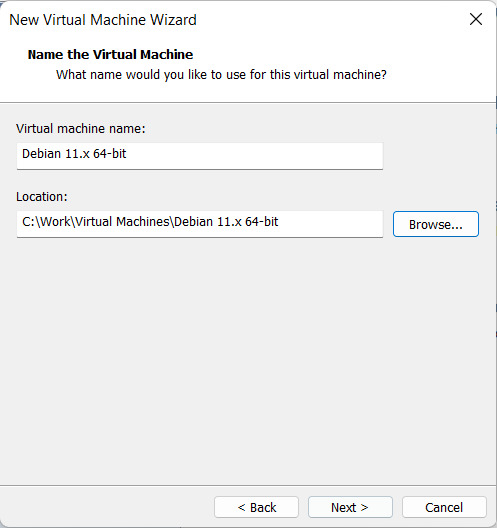
Name your virtual machine and select its location.
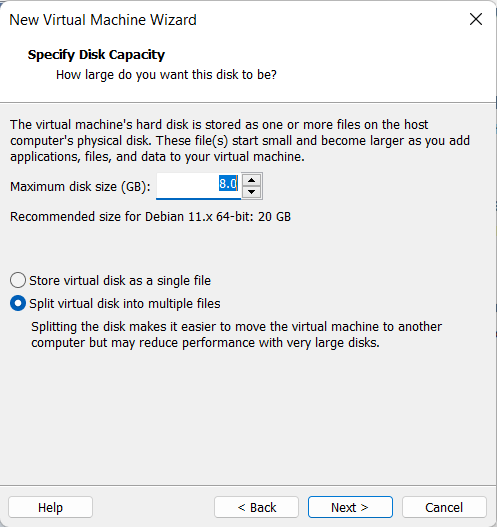
Specify disk capacity for your virtual machine. Choose split virtual disk into multiple files for easier time moving the virtual machine to another computer.
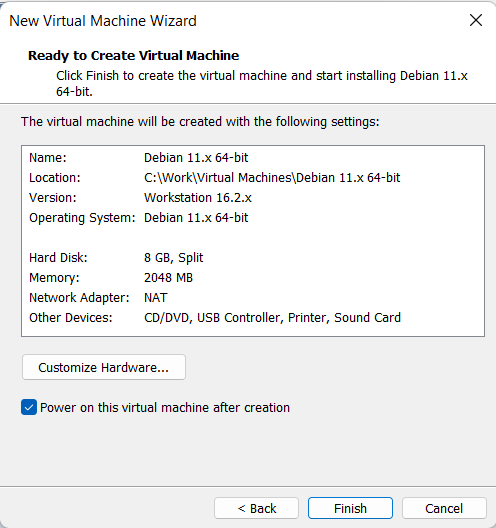
Click Customize Hardware.
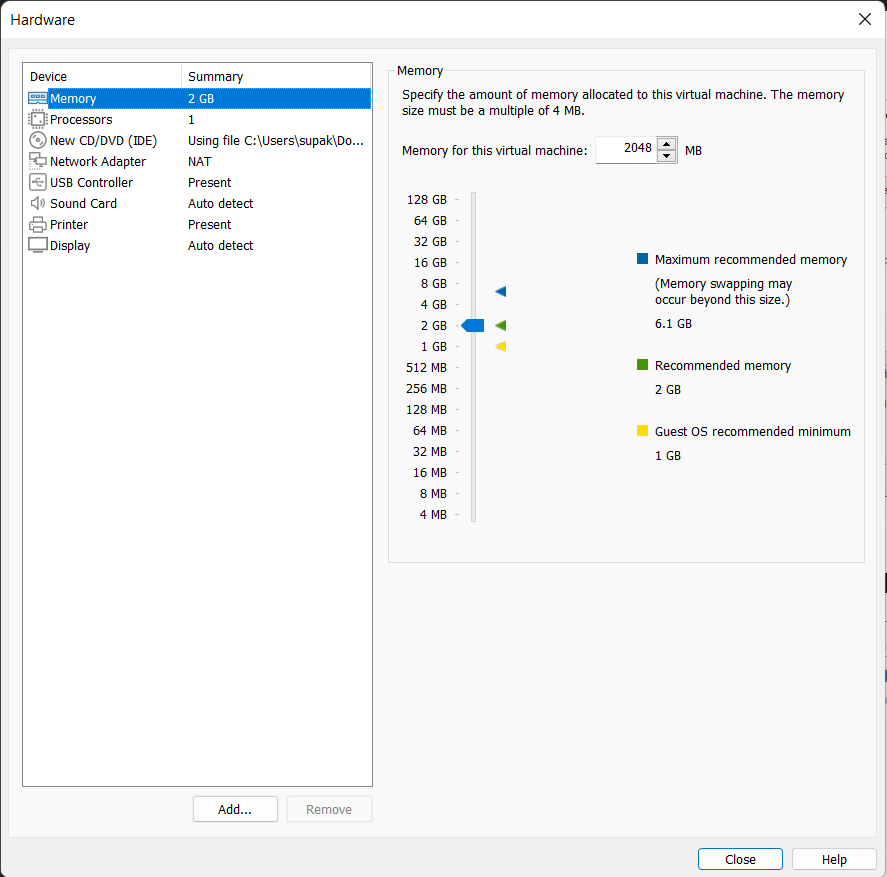
Adjust the virtual machine’s memory to your liking.
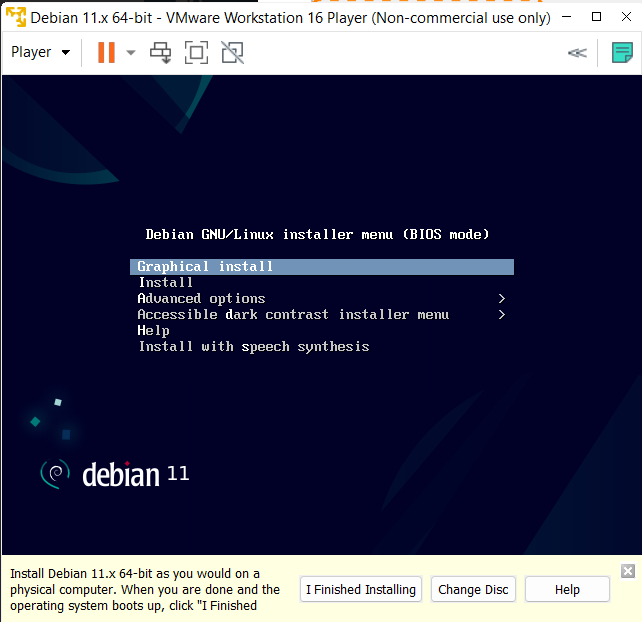
Open the virtual machine. Choose Graphical install.
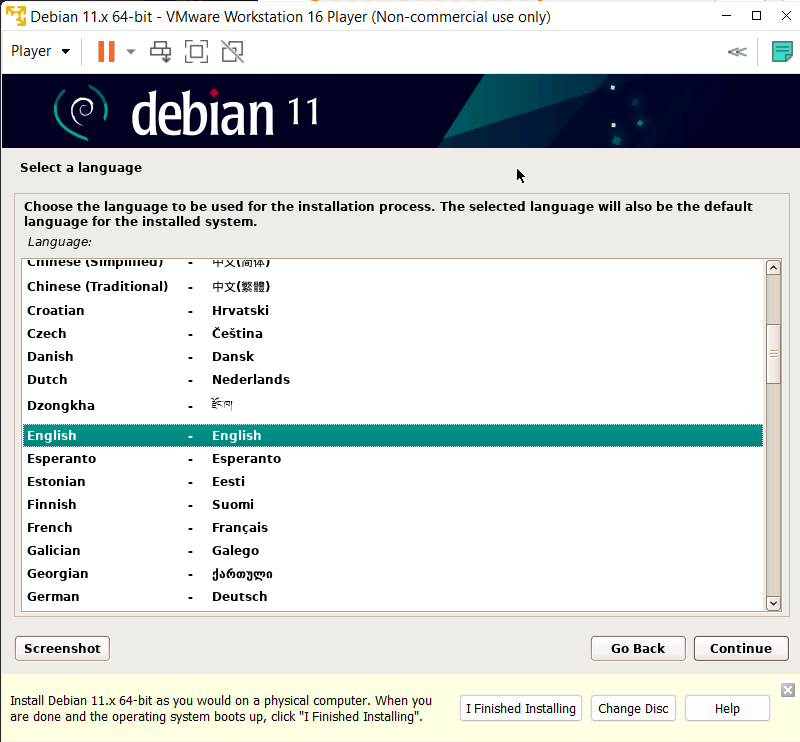
Select a language.
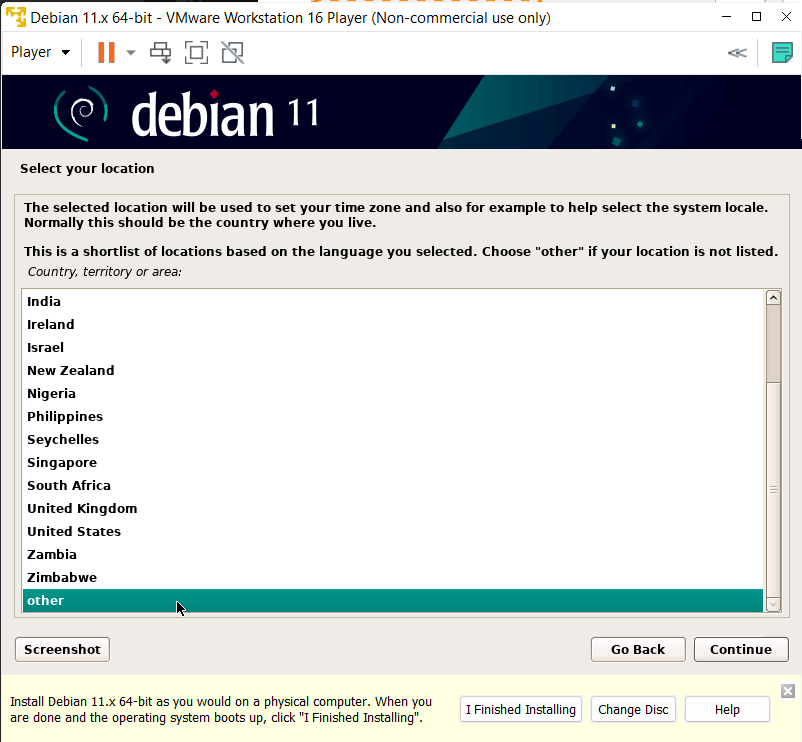
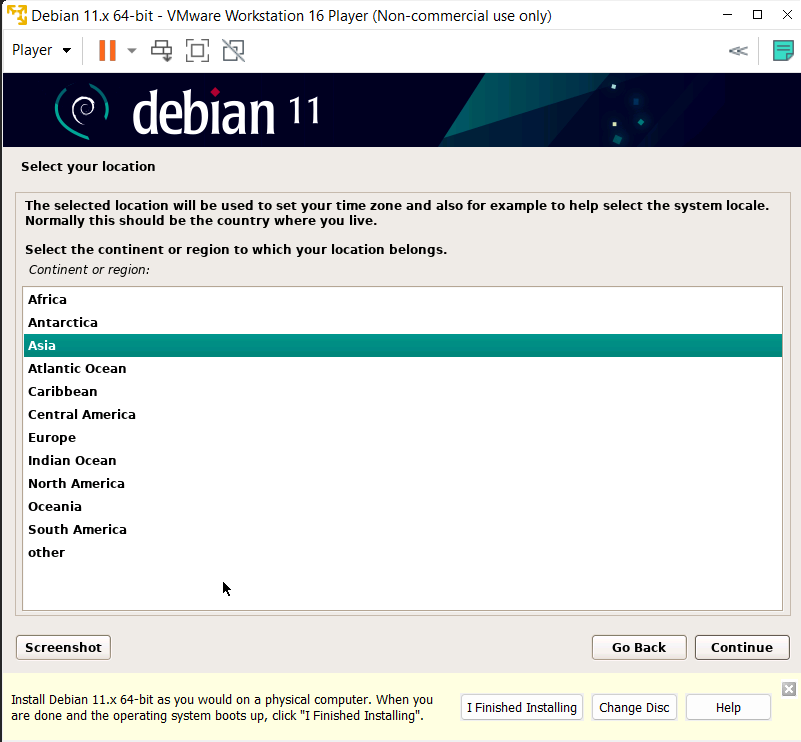
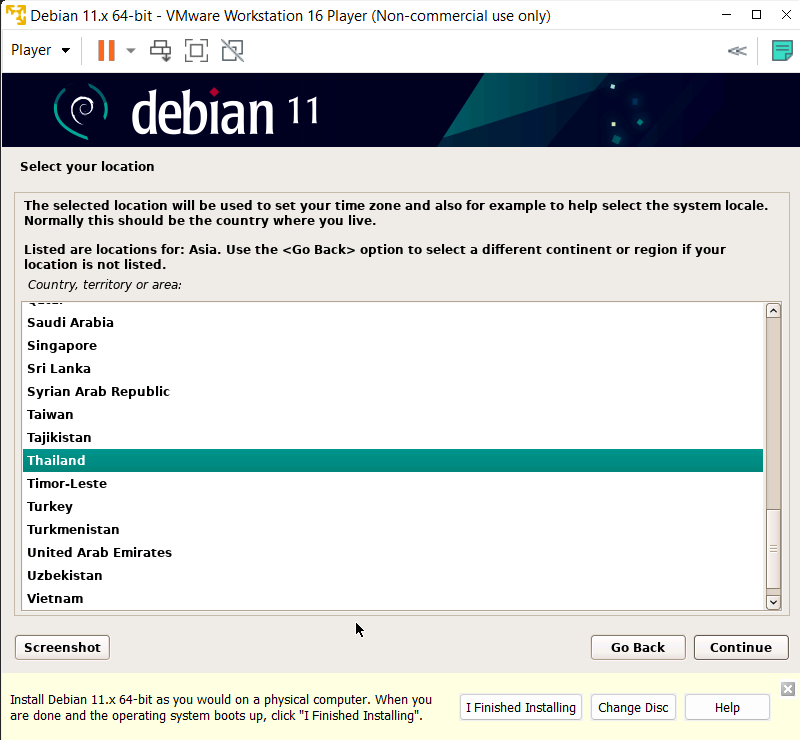
Select your location.
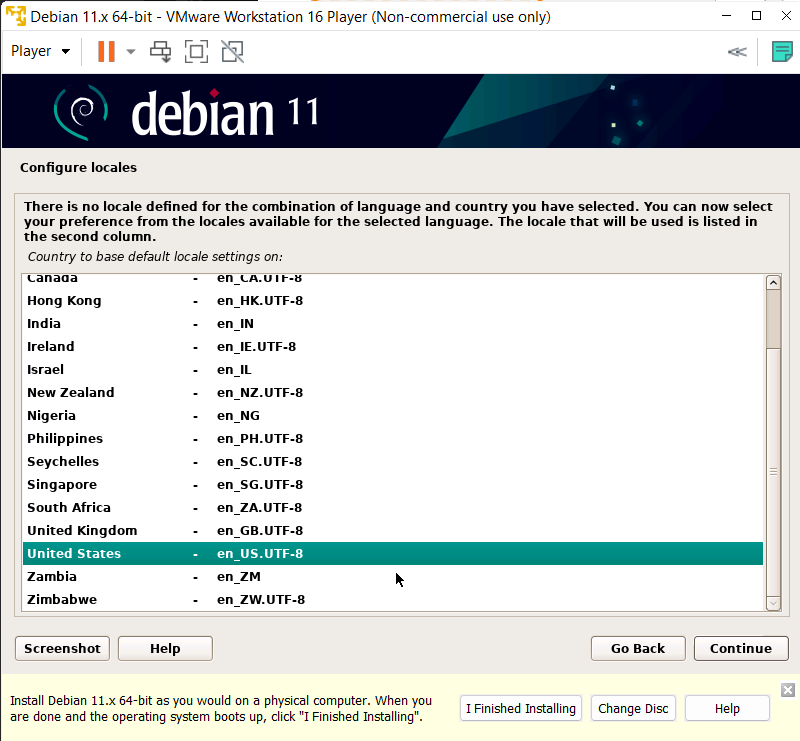
If there is no locale defined for the language and location you selected you will have to choose your locale.
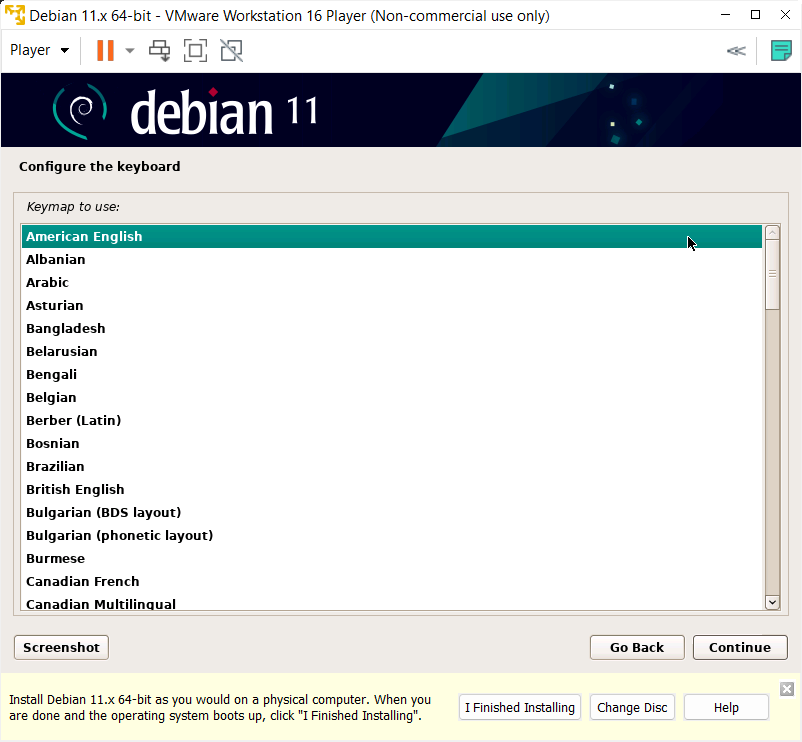
Configure you keymap.
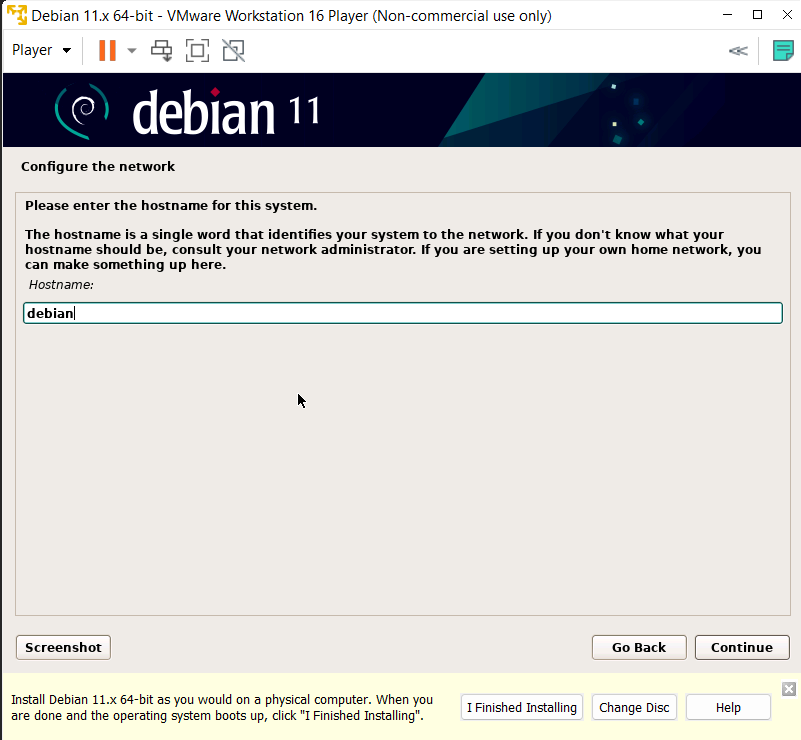
Enter the hostname for the system.
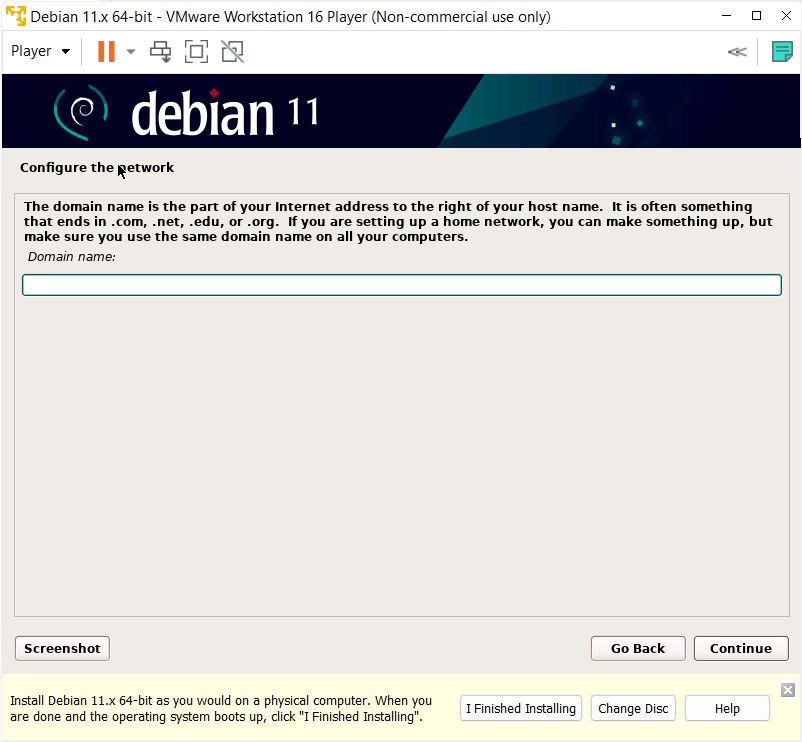
Enter your domain name. Home users can leave this blank.
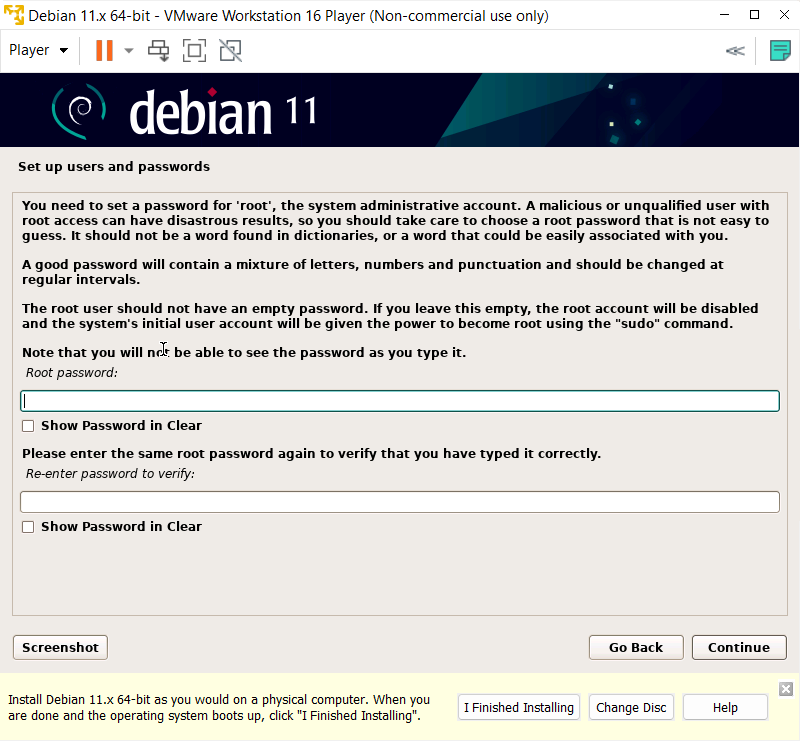
Set up password for root account.
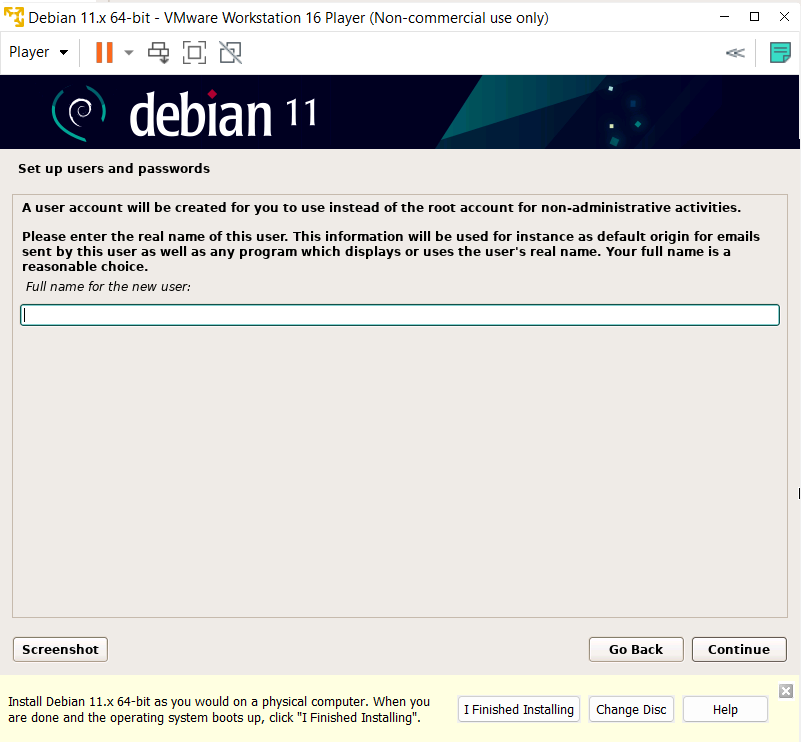
Enter your full name.
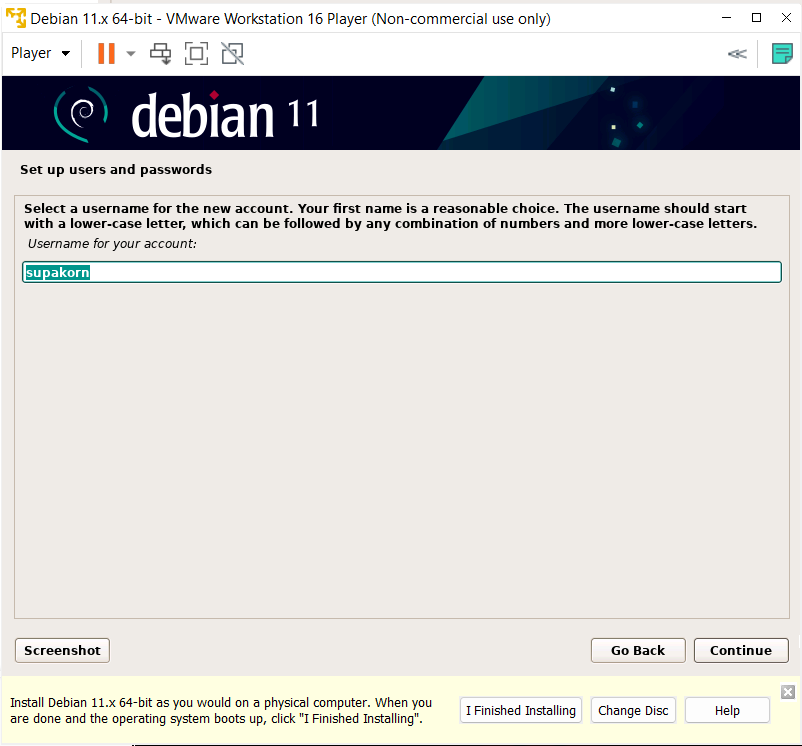
Enter your username for your account.
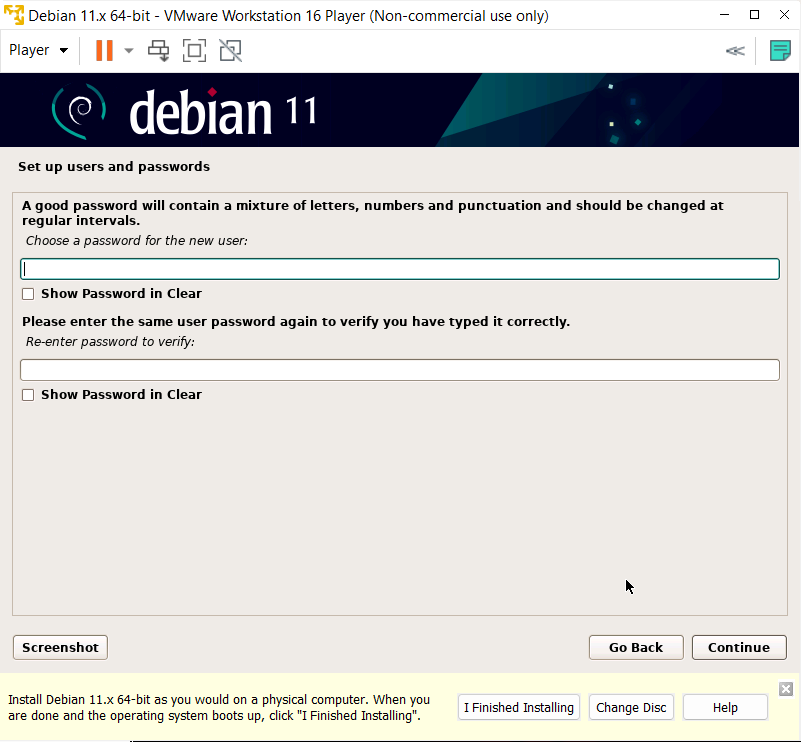
Set up password for your account.
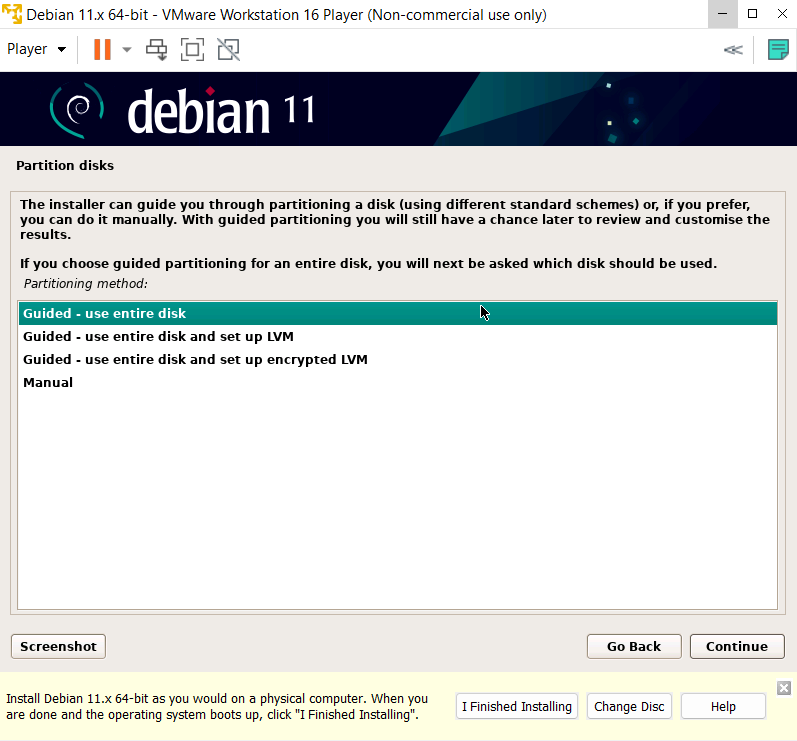
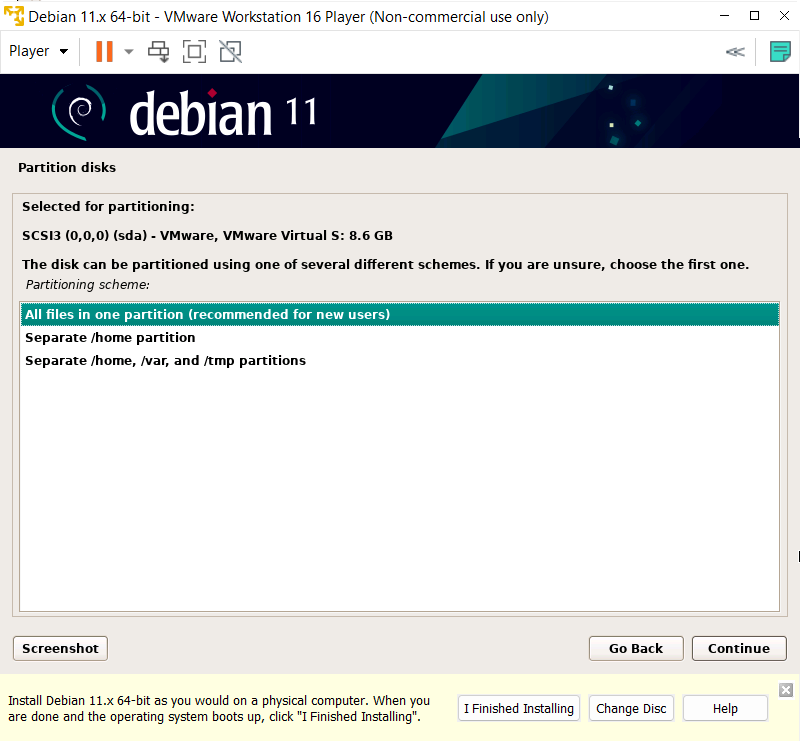
For inexperienced users, choose Guided - use entire disk.
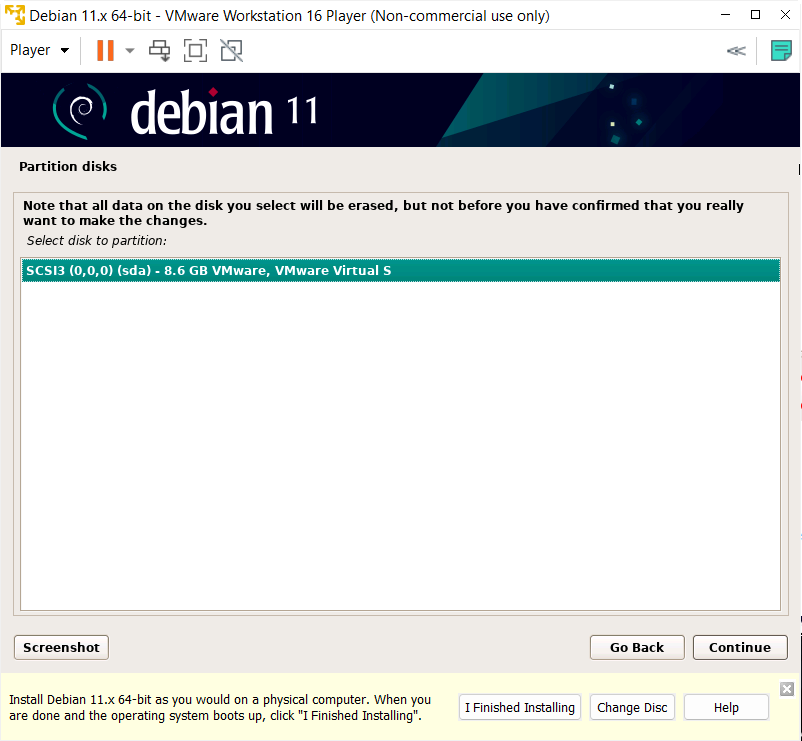
Select your virtual disk to be partitioned.
For inexperienced users, choose All files in one partition.
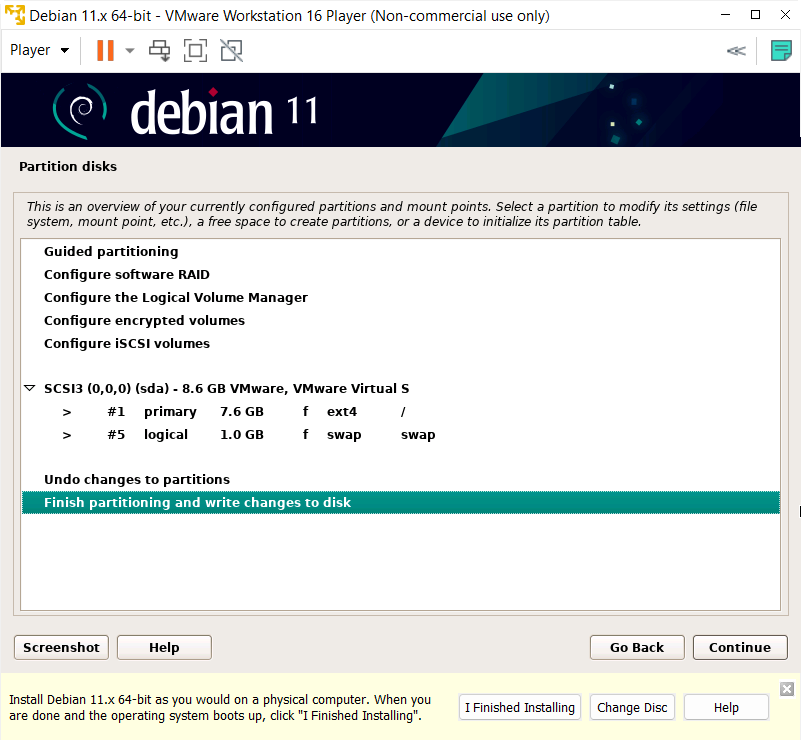
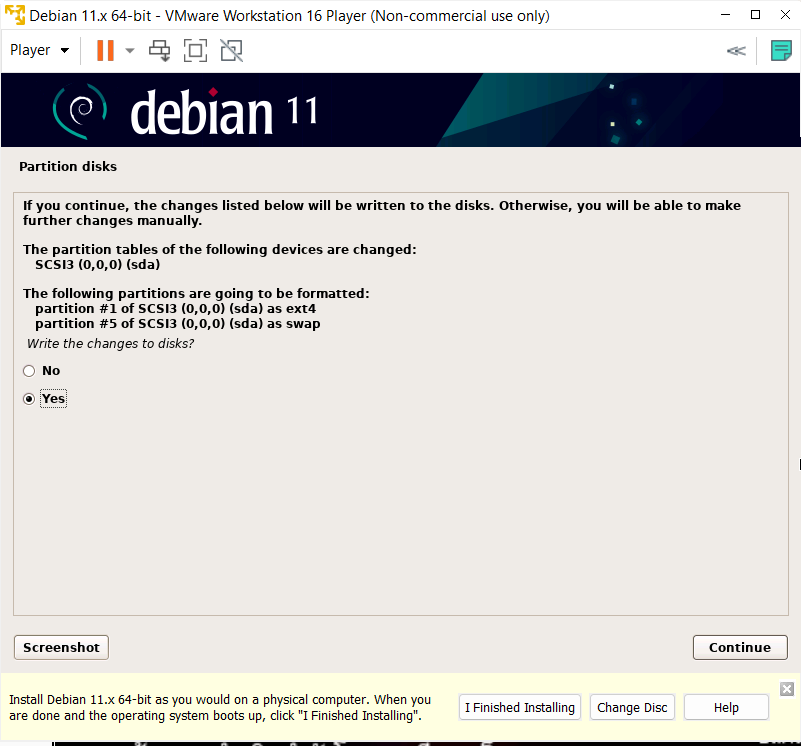
Finish Partitioning and write changes to disk.
Click Yes.
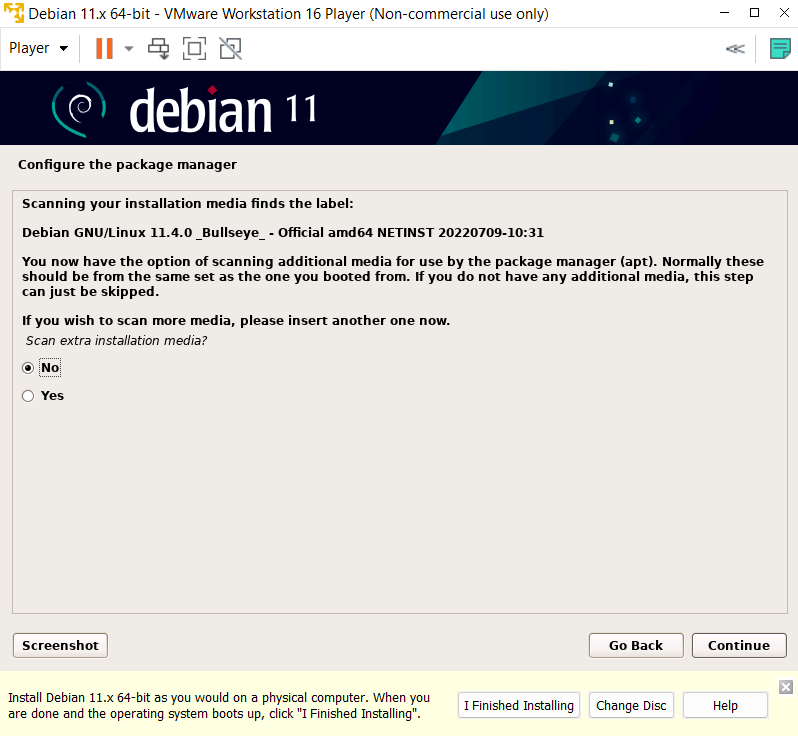
If you want the installer to scan additional DVD installation media to install some additional packages on your system click Yes. Otherwise click No.
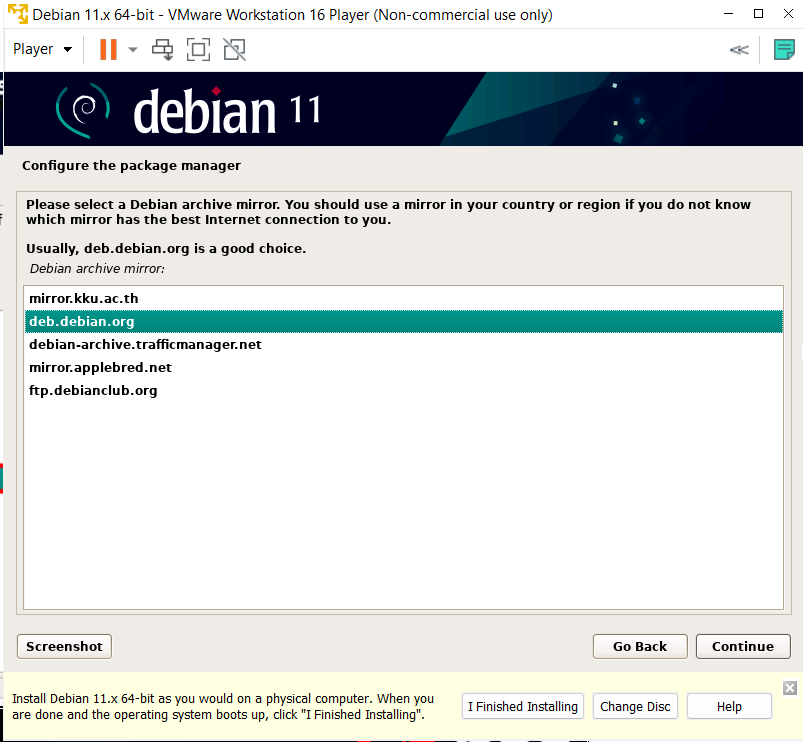
Select a Debian archive mirror country that is close to your network for faster download time.

Select a Debian archive mirror. Usually, deb.debian.org is a good choice.
If you use need to use a HTTP proxy to access the outside world, enter the proxy information. Otherwise leave this field blank.

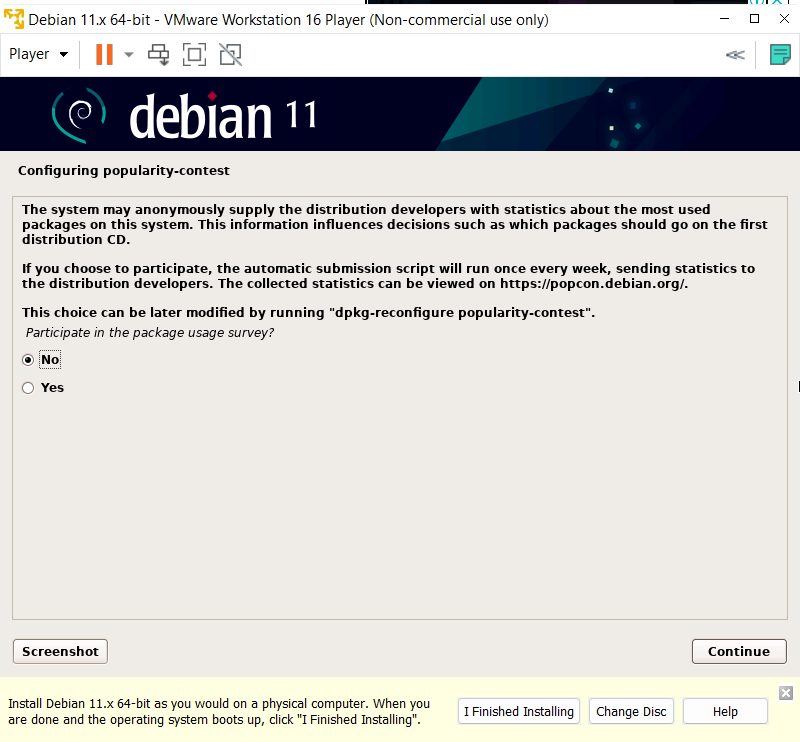
Choose if you want to participate in the package usage survey.
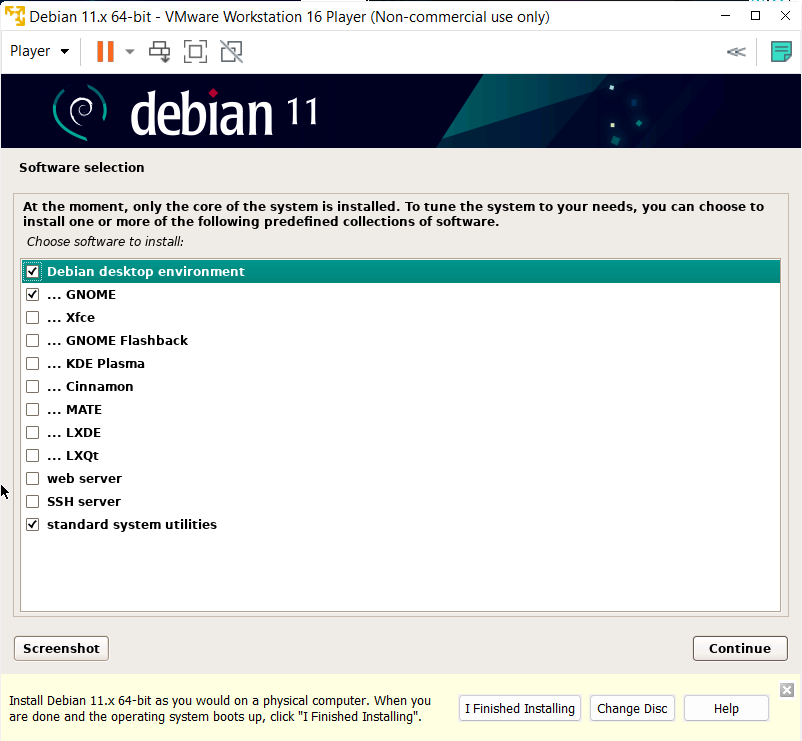
Choose additional softwares that you want to install. You can leave it as the installer suggested.
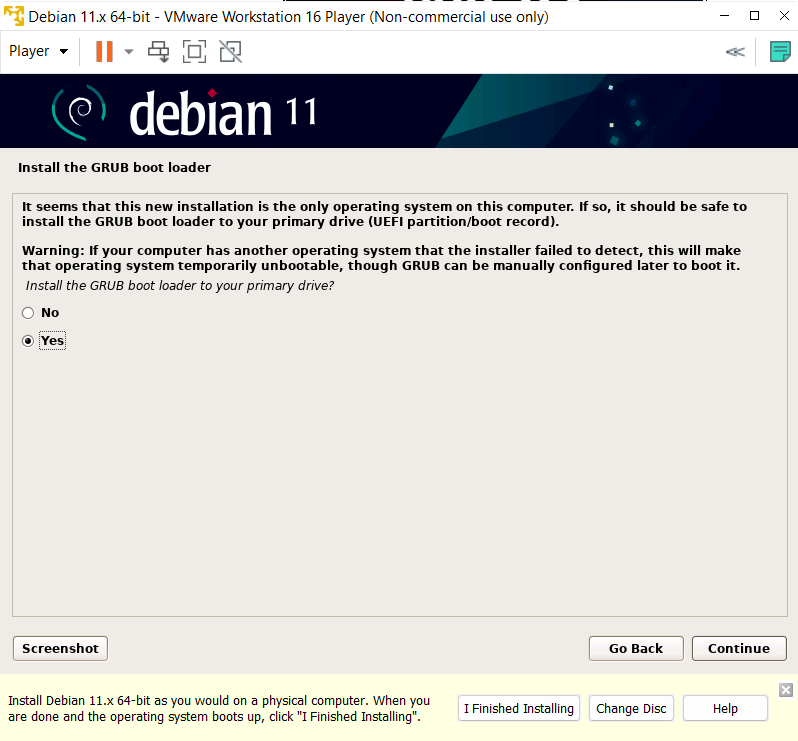
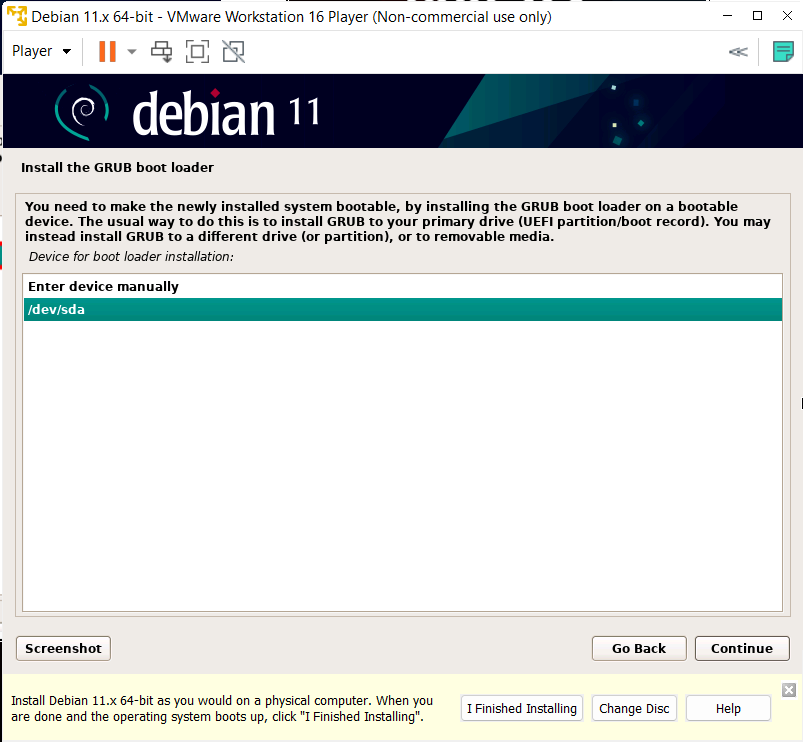
Install the GRUB bootloader on the primary virtual drive.
Select the primary virtual drive.
Finish the installation.
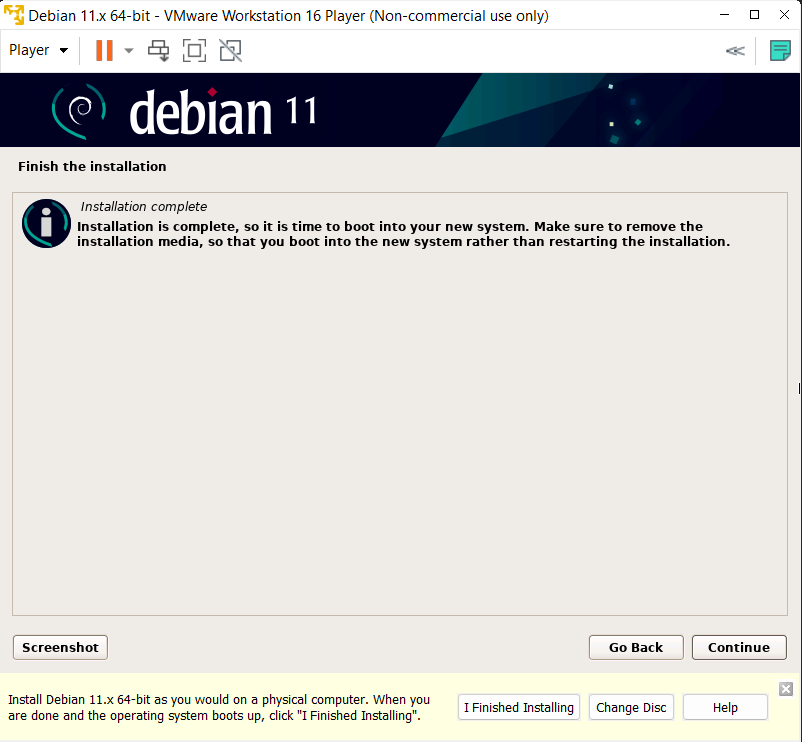
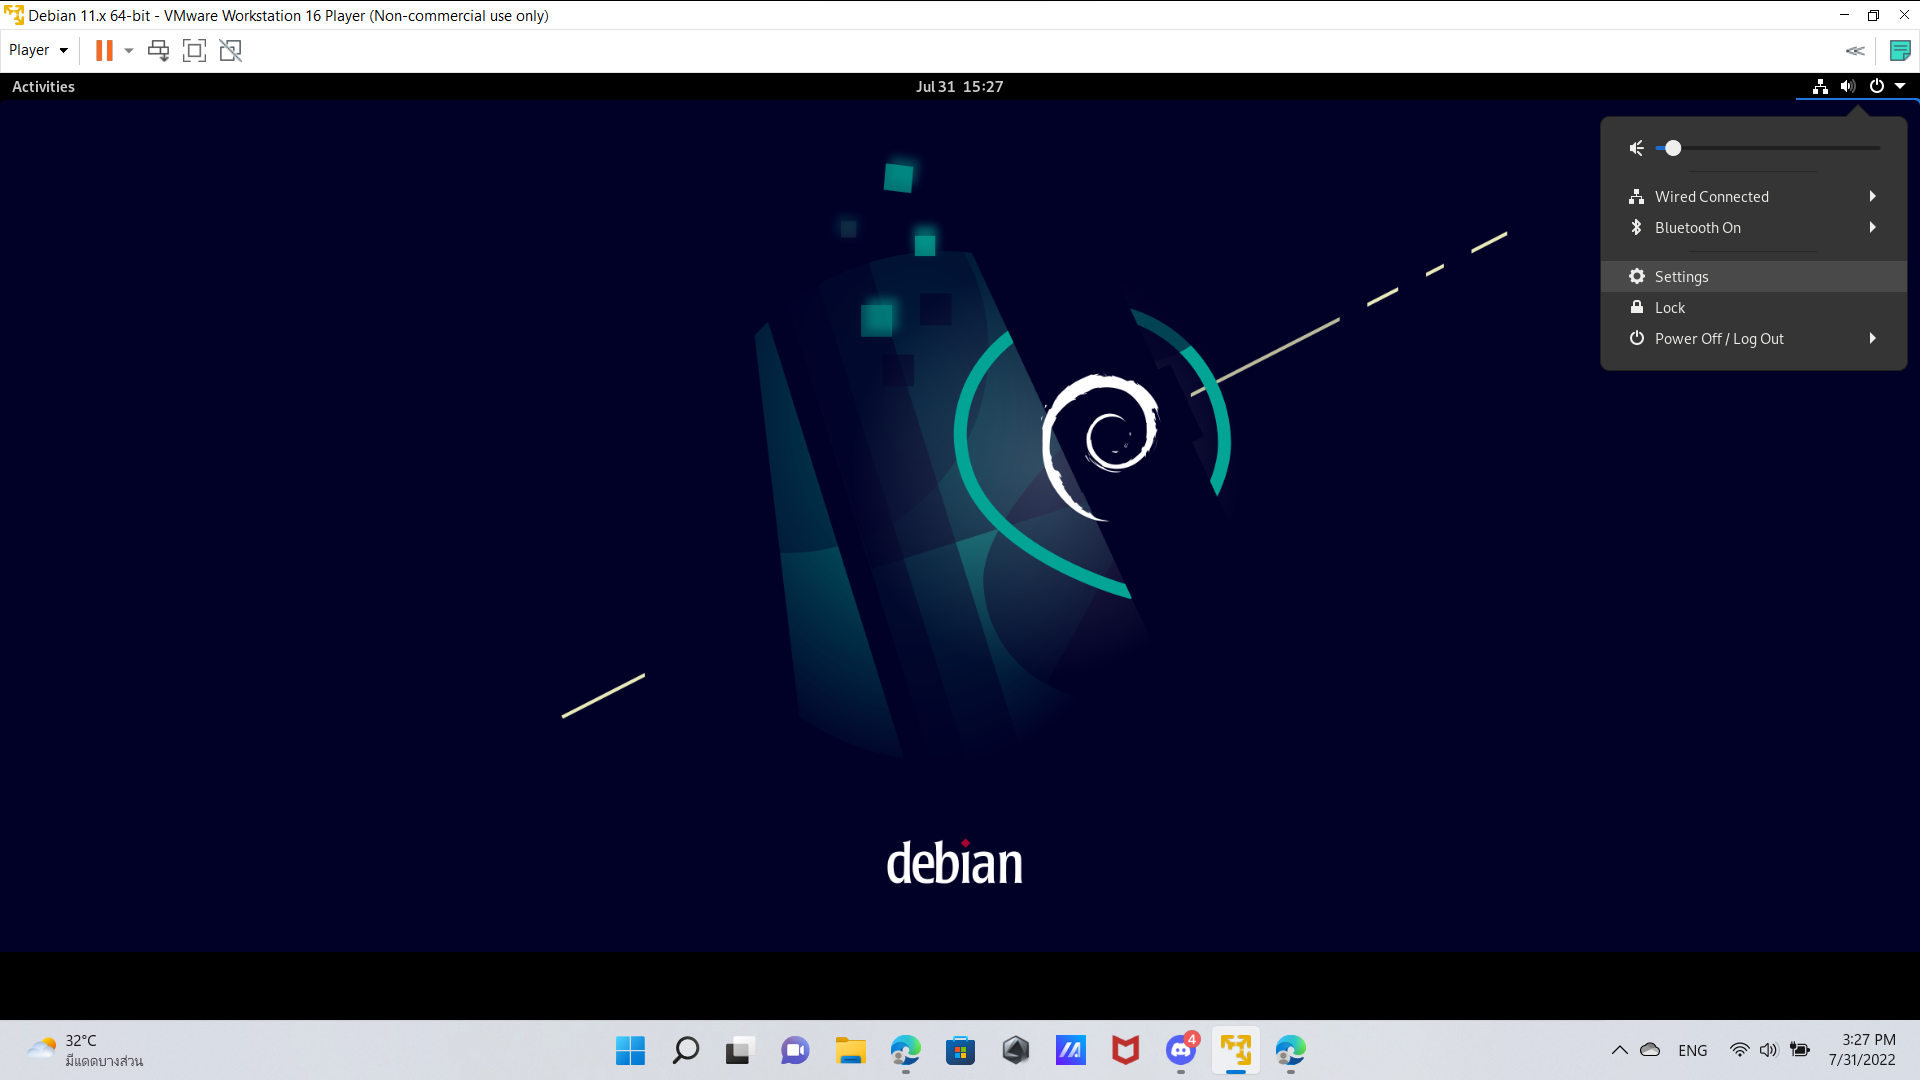
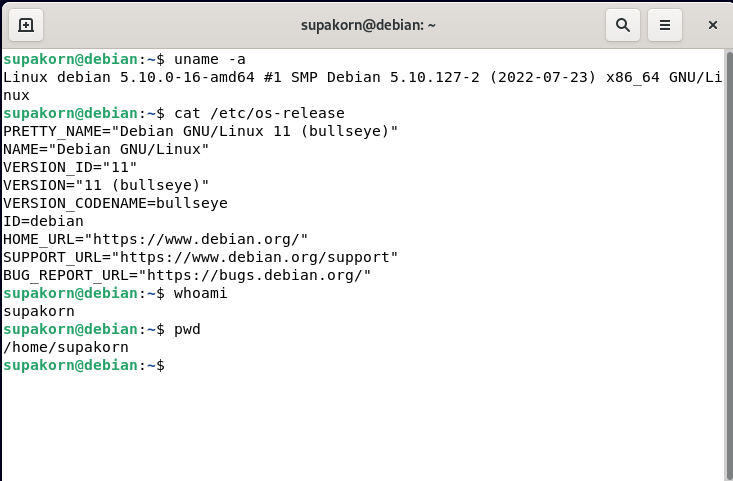
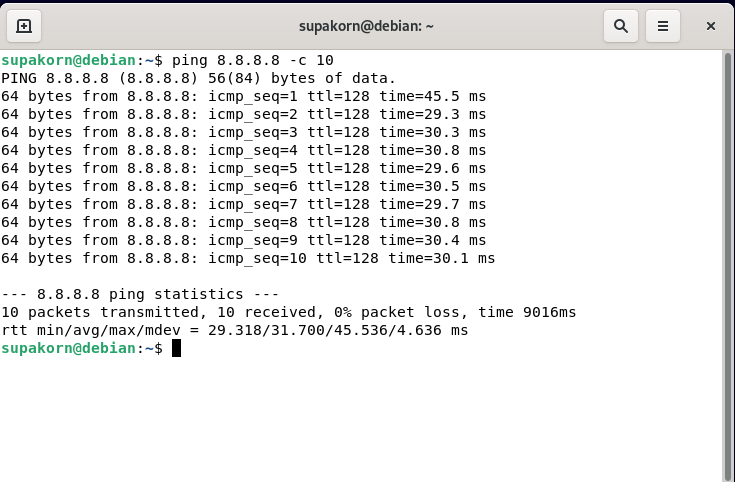
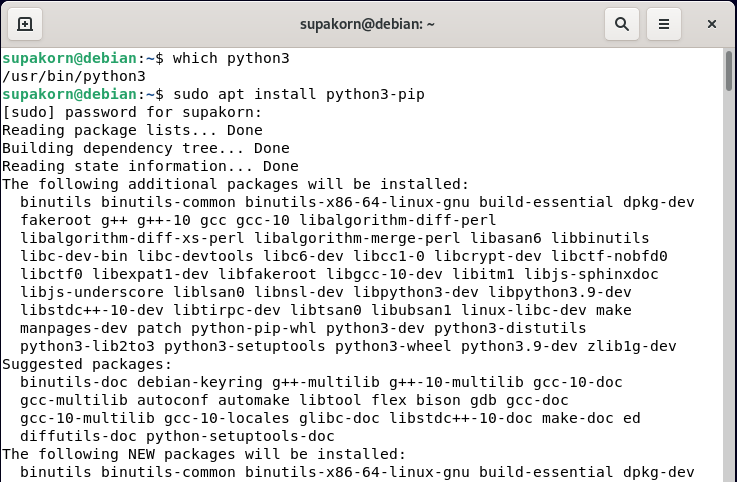
Now your Debian is ready to be used.
But you need to add your user to sudo group first in order to use any sudo command in Debian.
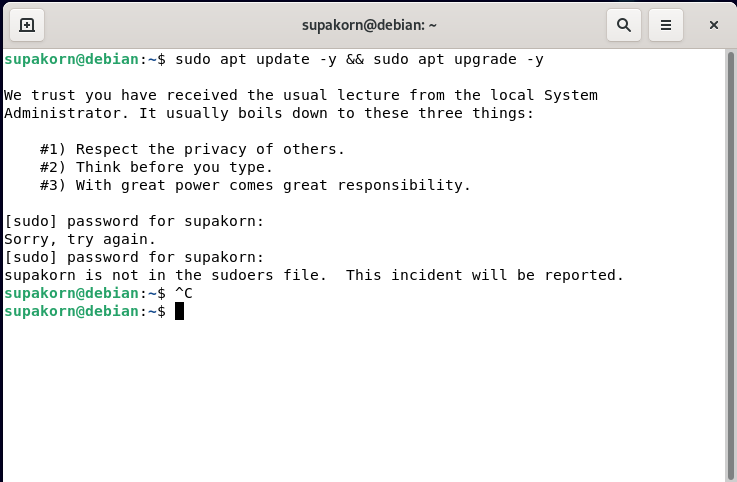
- Switch to root user and runs a login shell.
$ su - - Add your USER_NAME(your username) to sudo group.
usermod -aG sudo USER_NAME - Exit the root shell.
exitYou should be able to use sudo commands after rebooting Debian.
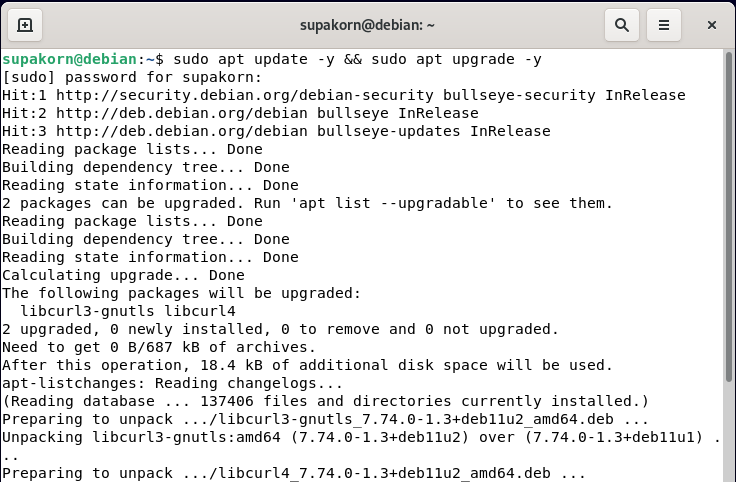
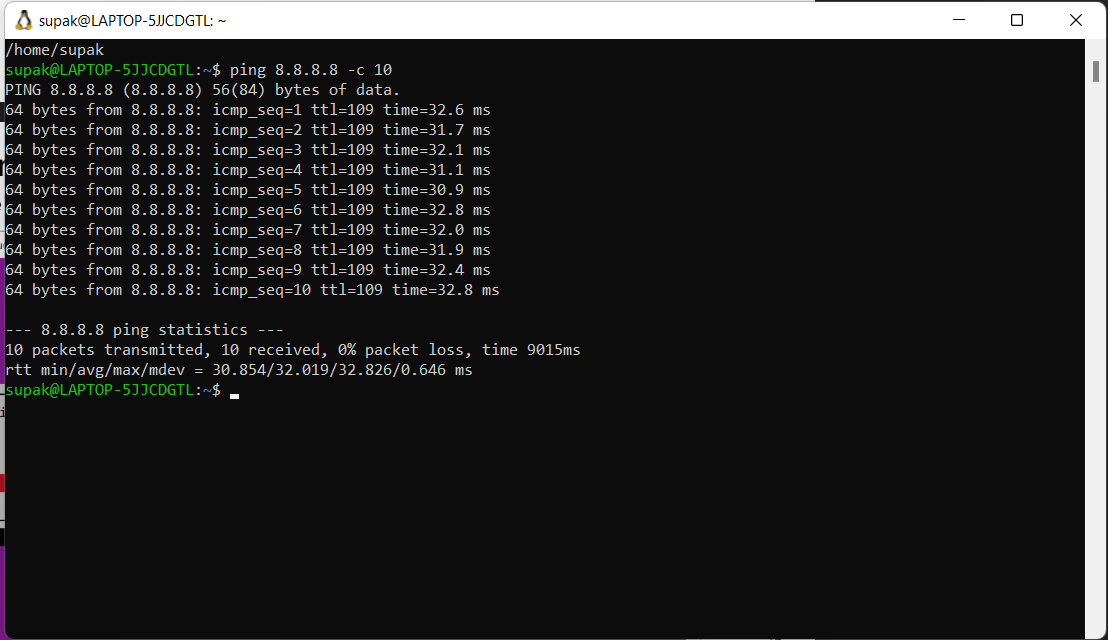
Some more testing.
Installing MX Linux on VMware Workstation 16 Player Virtual Machine.
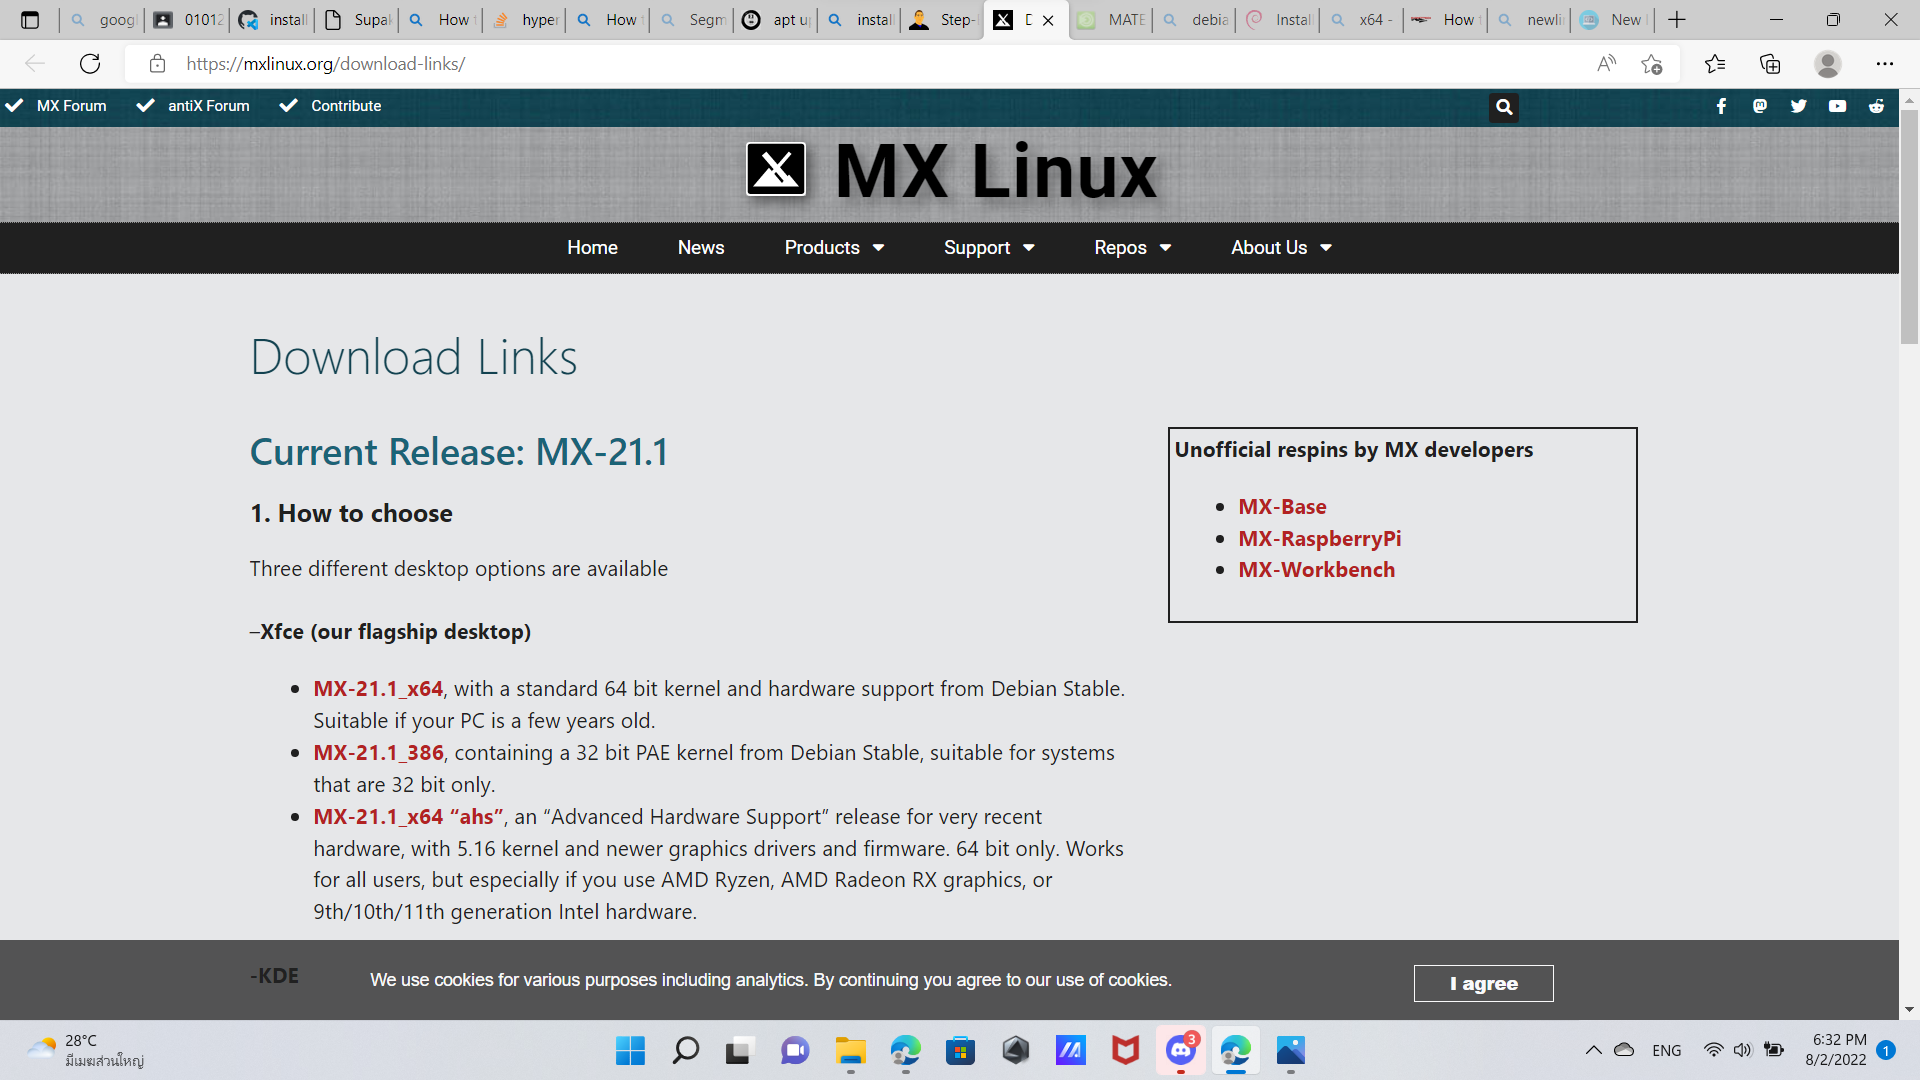
Start by downloading MX-21.1 iso image from https://mxlinux.org/download-links/.
Open VMware Workstation 16 Player. Create a new virtual machine.
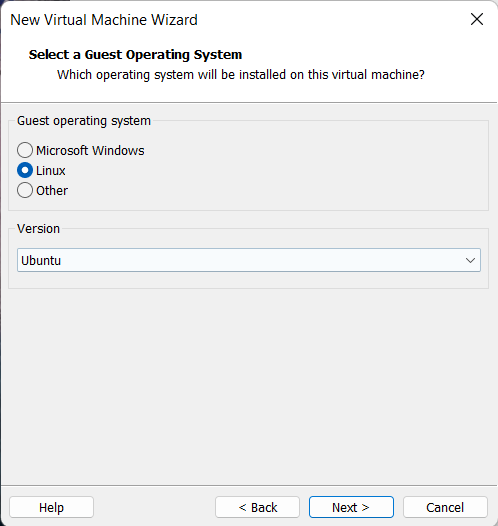
VMware Workstation 16 Player doesn’t know what OS this iso file is, so we will install the OS later.
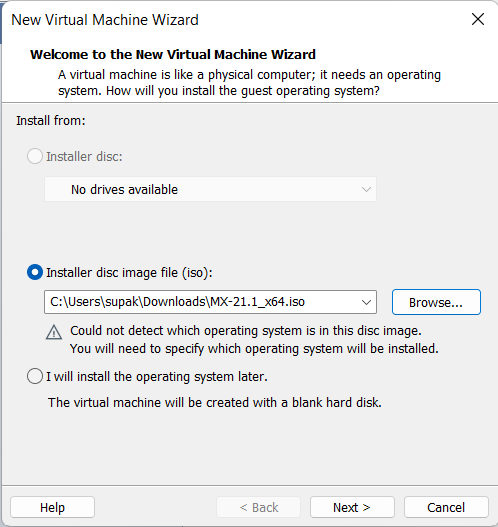
Let the virtual machine use Ubuntu or any Linux for now.
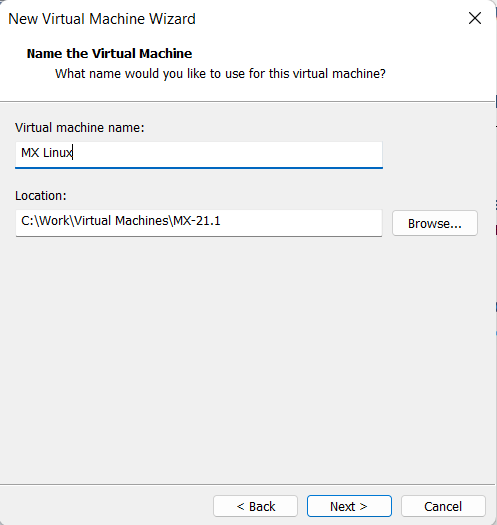
Name your virtual machine and select its location.
Specify disk capacity for your virtual machine. Choose split virtual disk into multiple files for easier time moving the virtual machine to another computer.
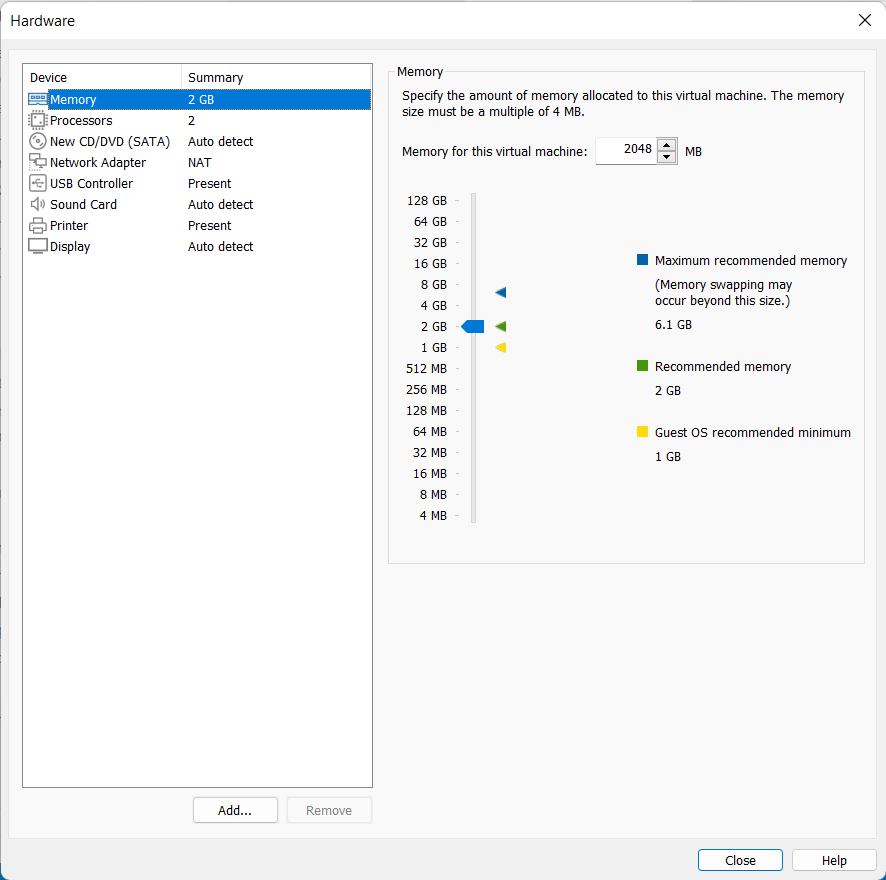
Click Customize Hardware.

Adjust the virtual machine’s memory to your liking.
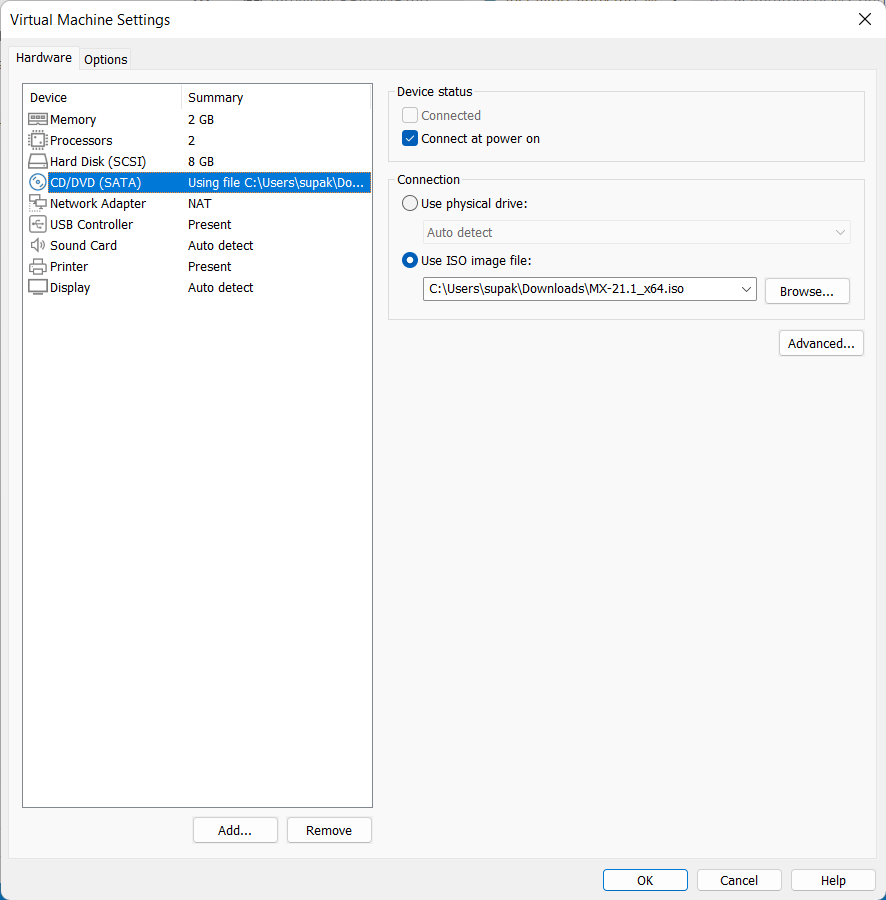
Connect to your iso file and finish the creation.
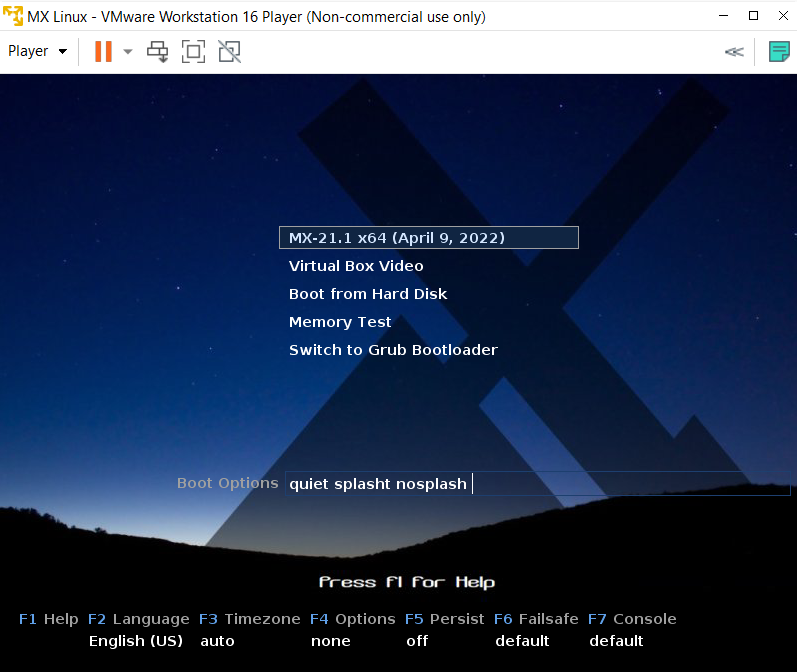
Open the virtual machine. Select MX-21.1 x64 (April 9, 2022) or the version of MX that you downloaded.
You will be greeted with a desktop right before the installation. Select or open Install MX Linux.

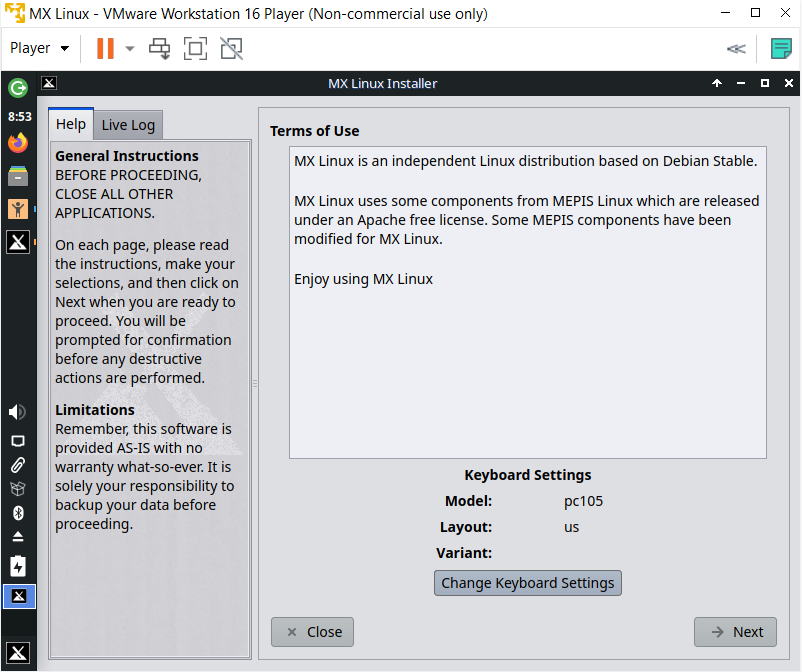
Change your keyboard setting to your liking then click next.
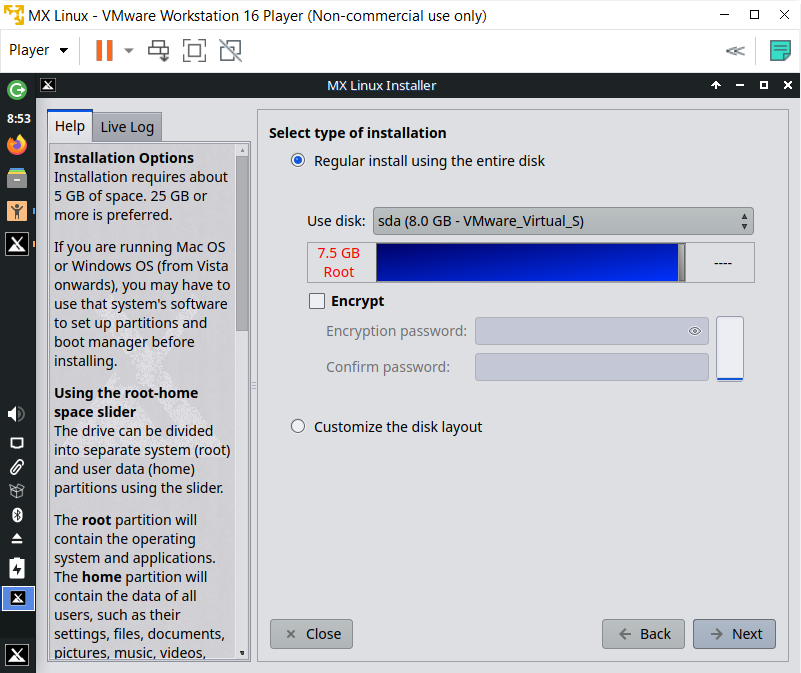
For inexperienced users, select Regular install using the entire disk.
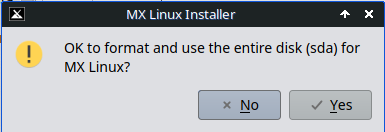
Click yes to format the virtual disk.
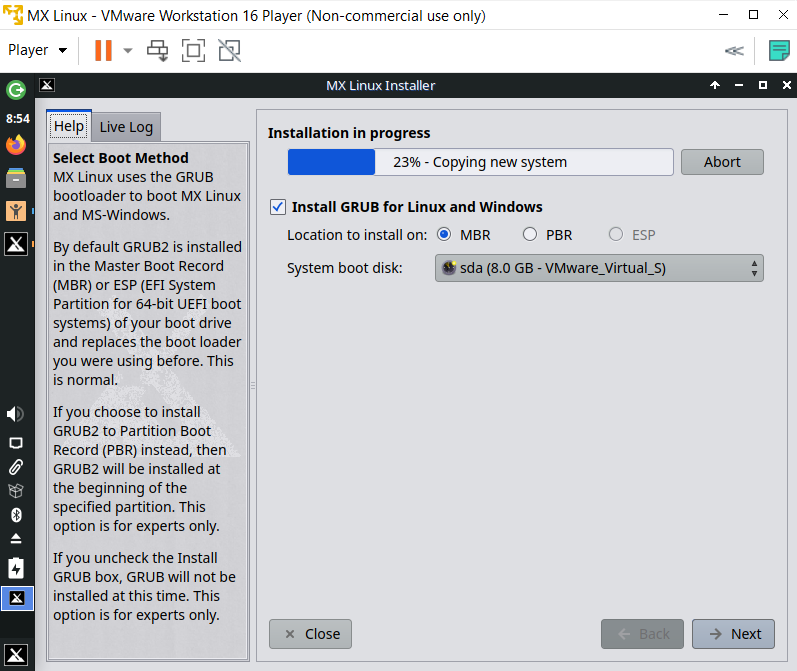
Install GRUB for Linux and Windows on MBR and use your virtual disk as system boot disk. You can press next now, The installer will need your inputs to finish installing.
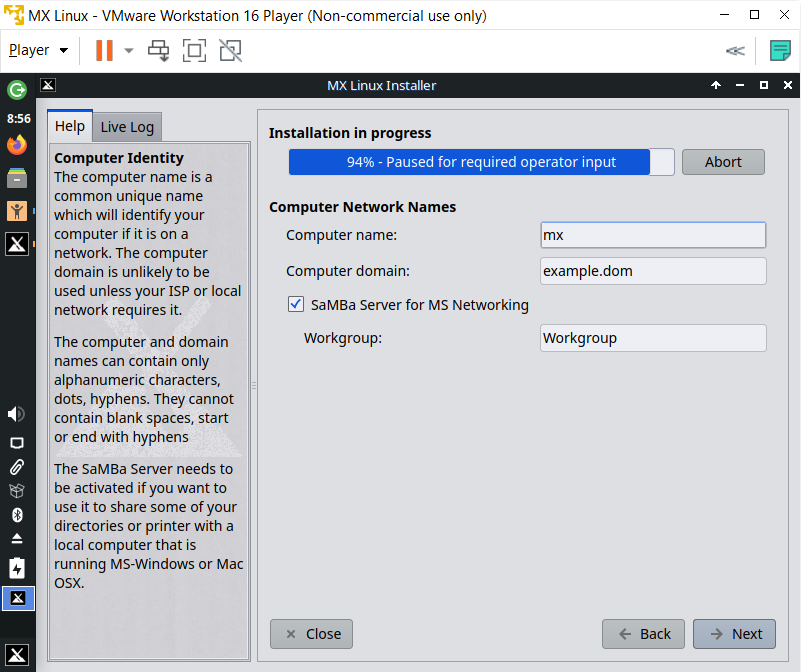
You can leave computer network names as they are and click next.
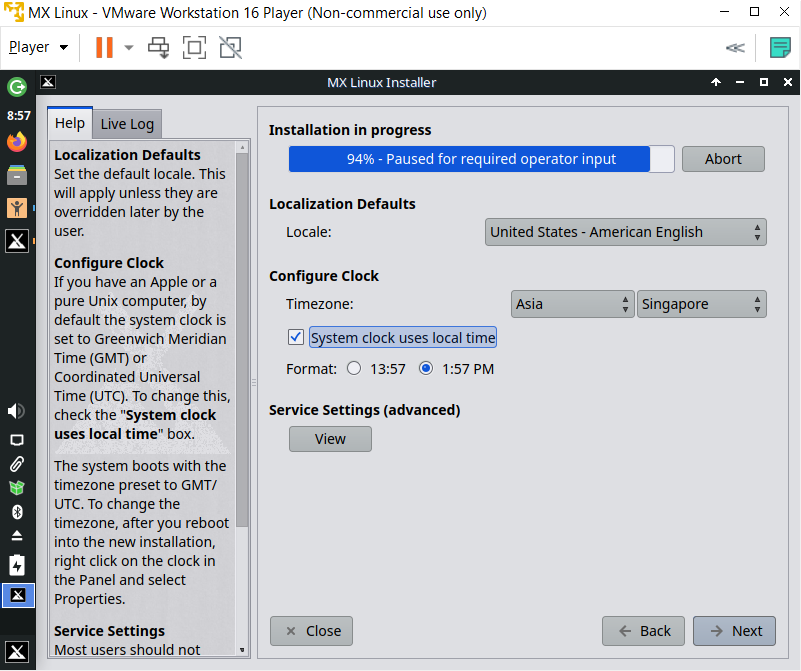
Select your locales and timezone. You can make the system clock use your timezone time and choose clock format.
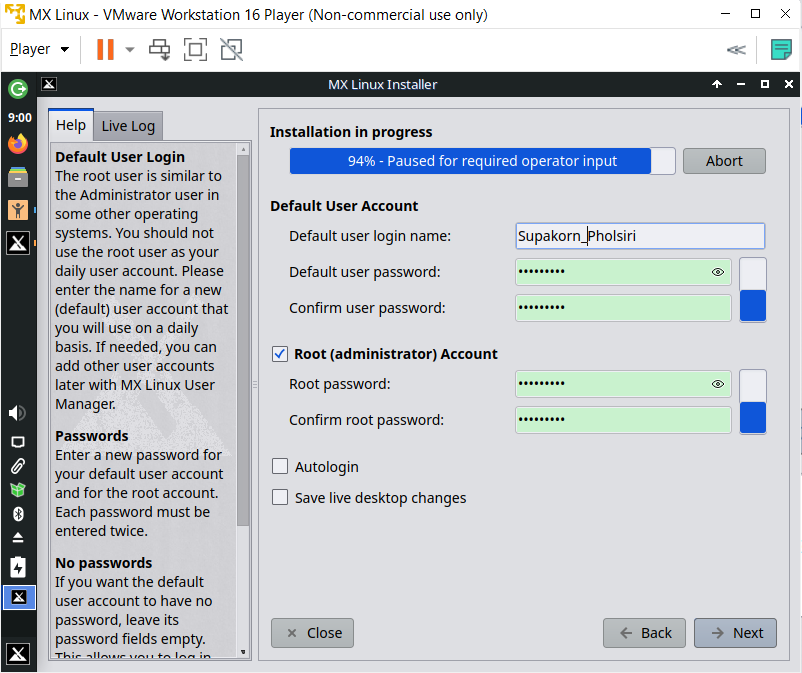
Set your user account’s and the root account’s names and passwords. Your account username can’t have spaces.
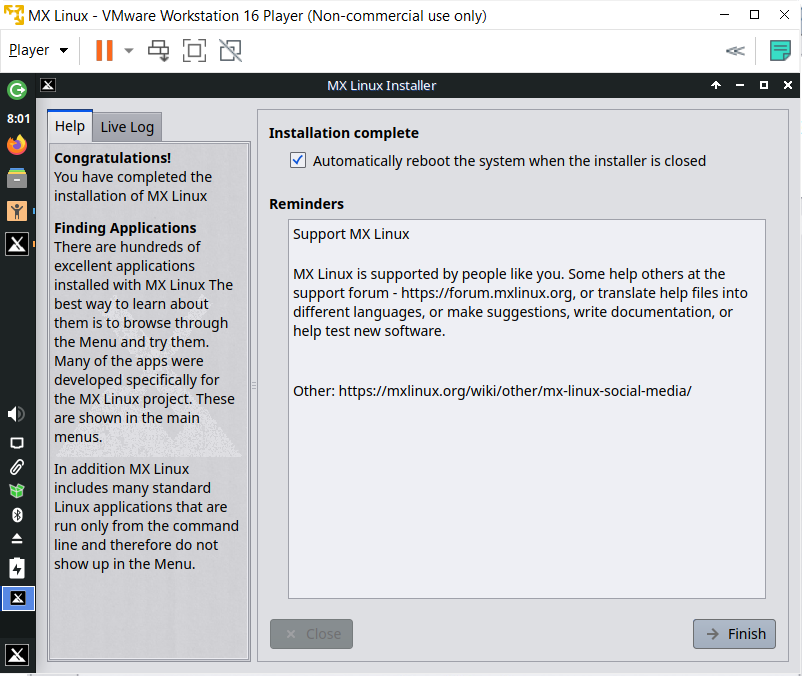
Finish the installation.
After rebooting the virtual machine, The MX Linux is ready to be used.
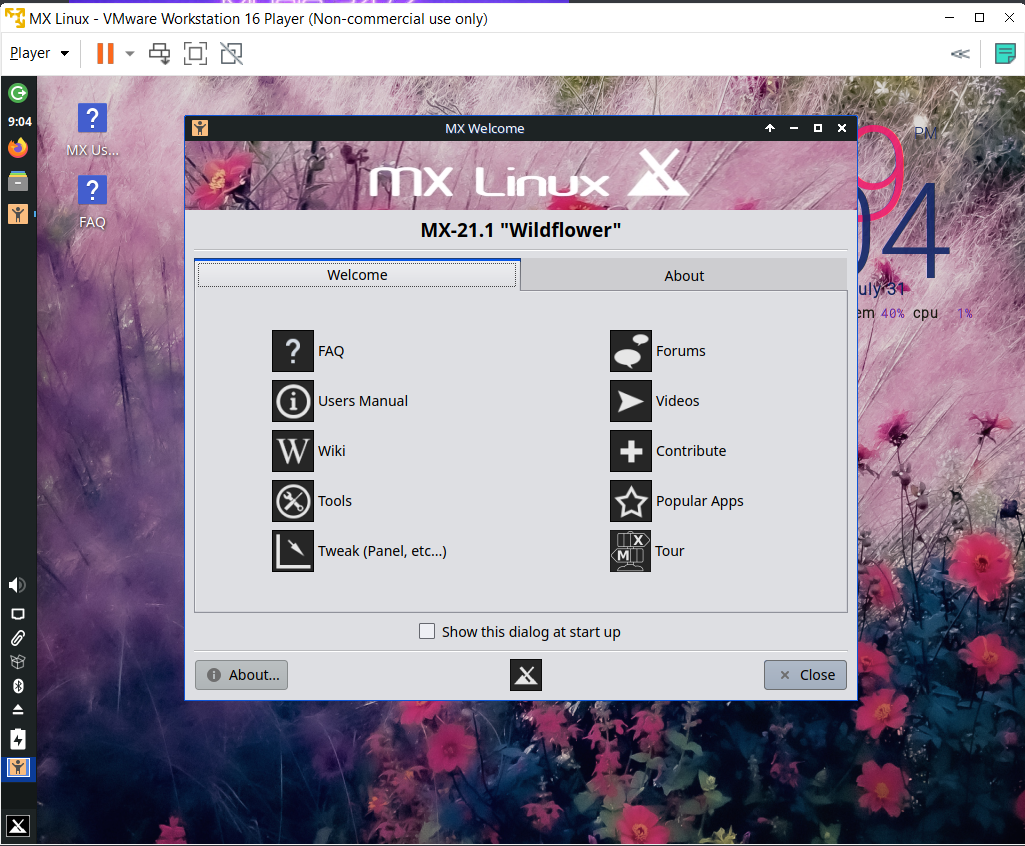
Or it might not be ready to use.
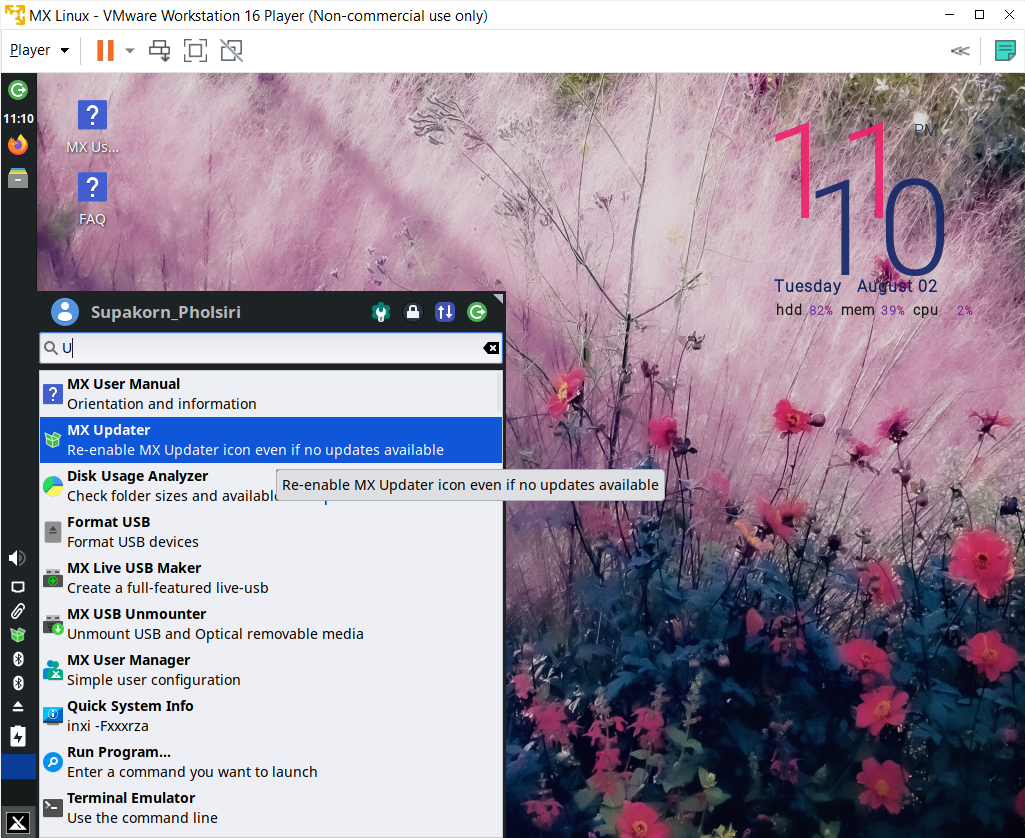
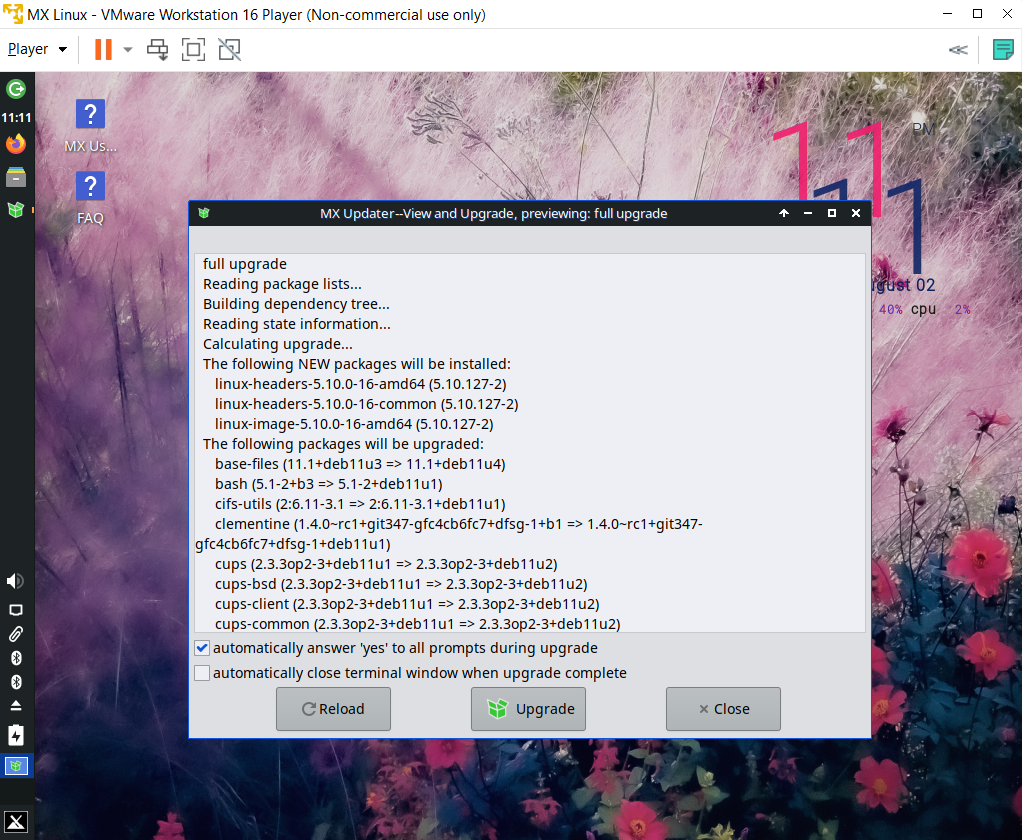
We can use MX Updater to upgrade our softwares.
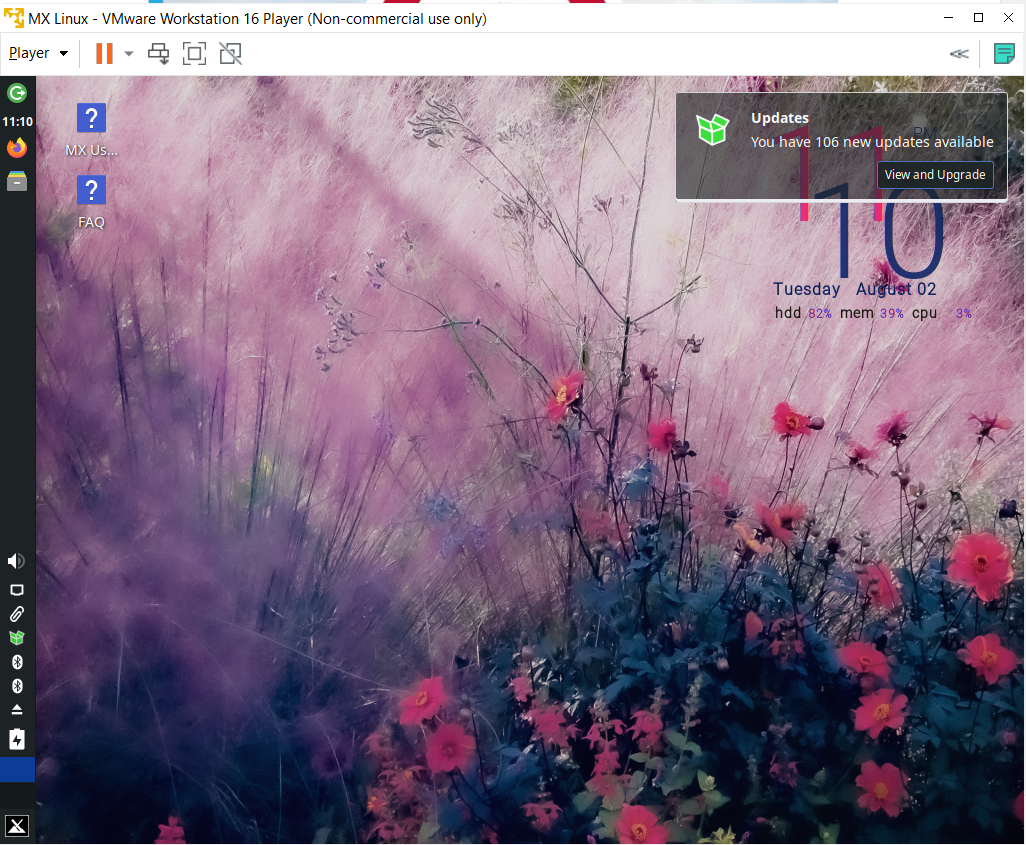
Run MX Updater.
Click View and Upgrade.
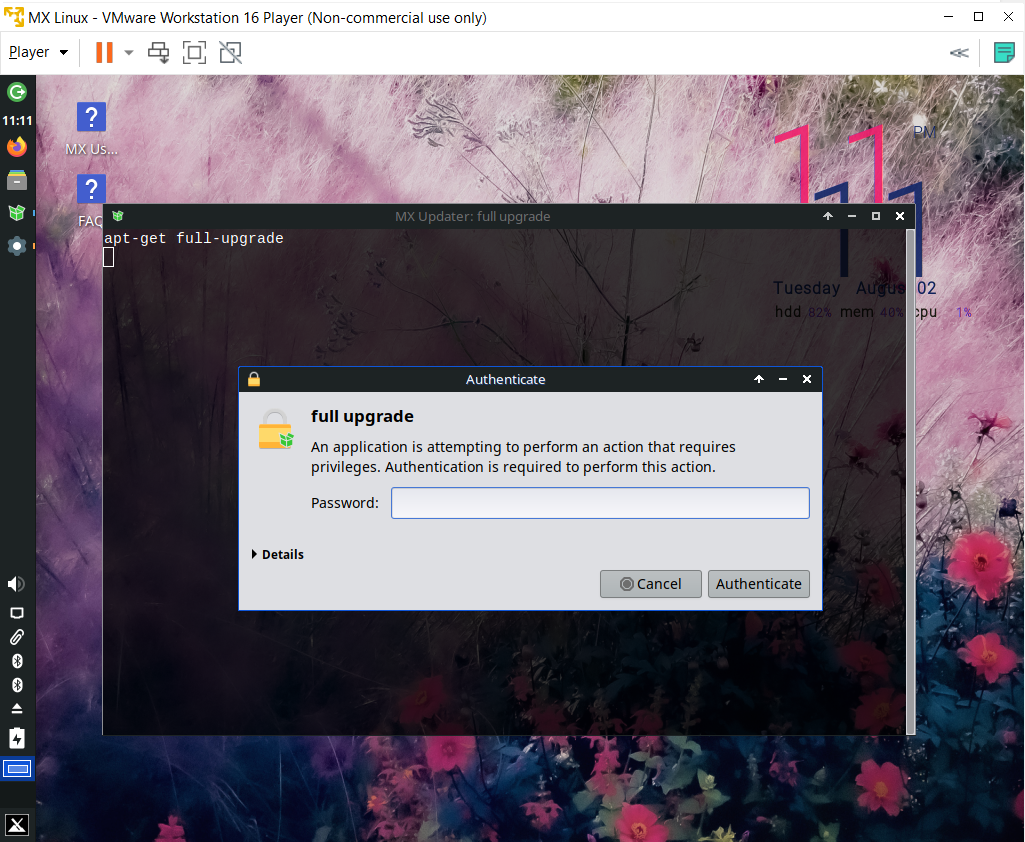
Click Upgrade.
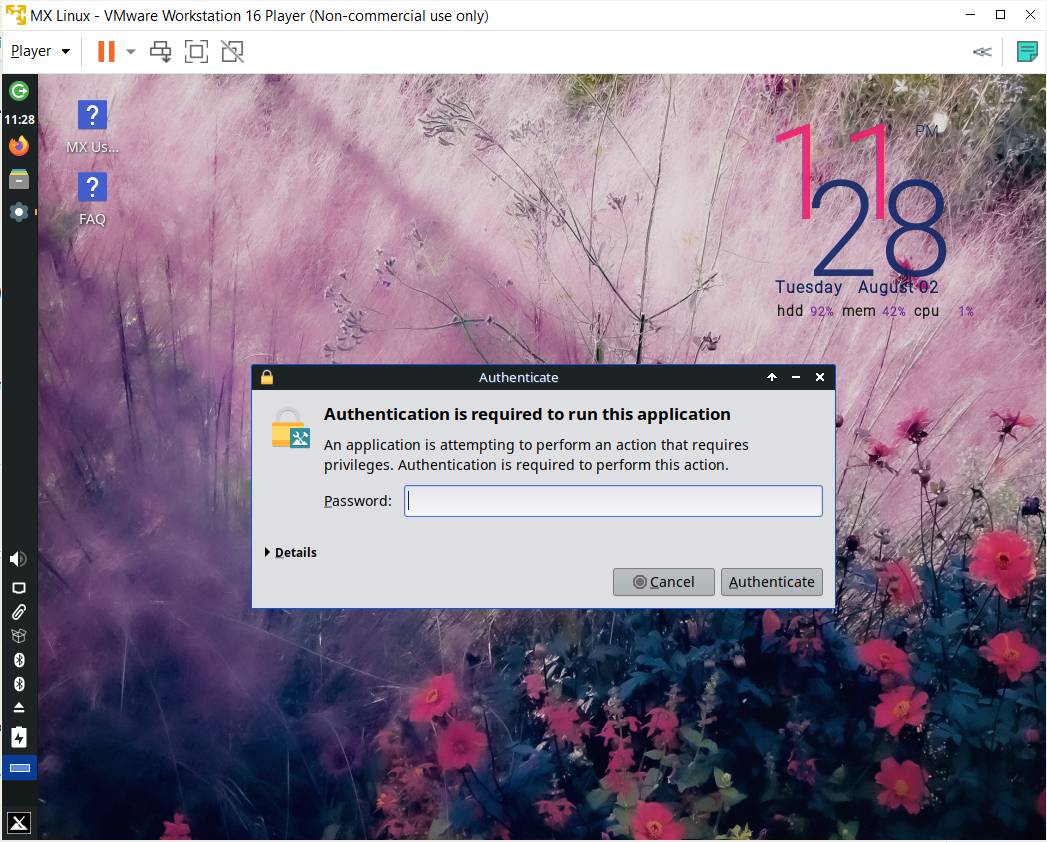
Enter your password.
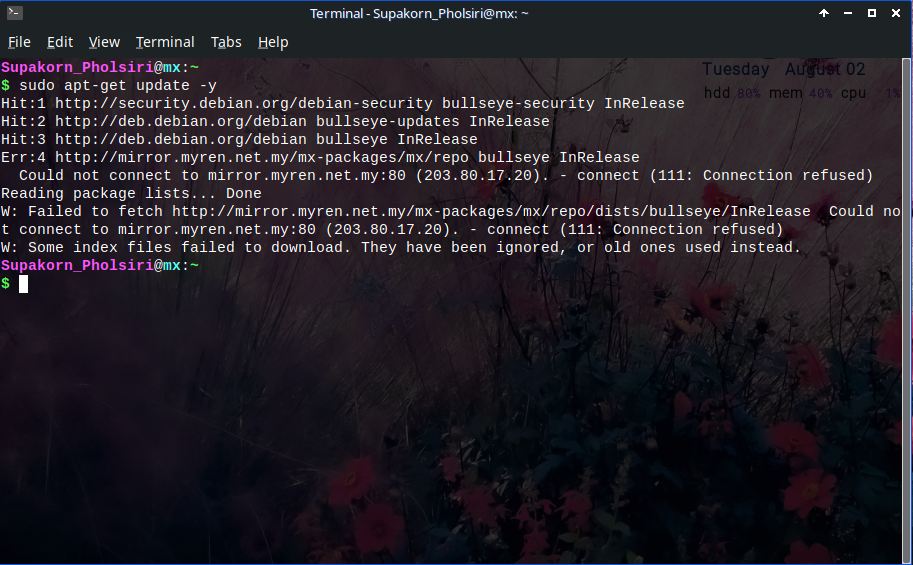
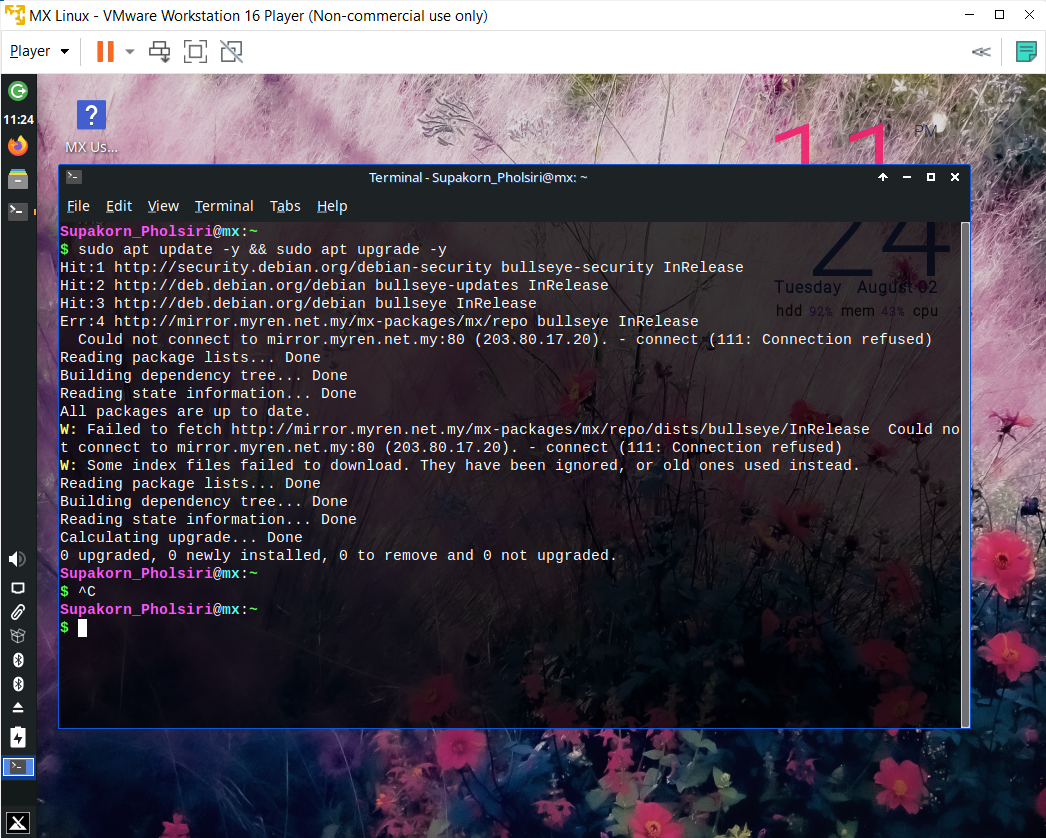
After MX Updater done upgrading software. Run sudo apt update again. It will say that it couldn’t connect to the MX repository.
So, let’s use MX Repo Manager to change our MX repository.
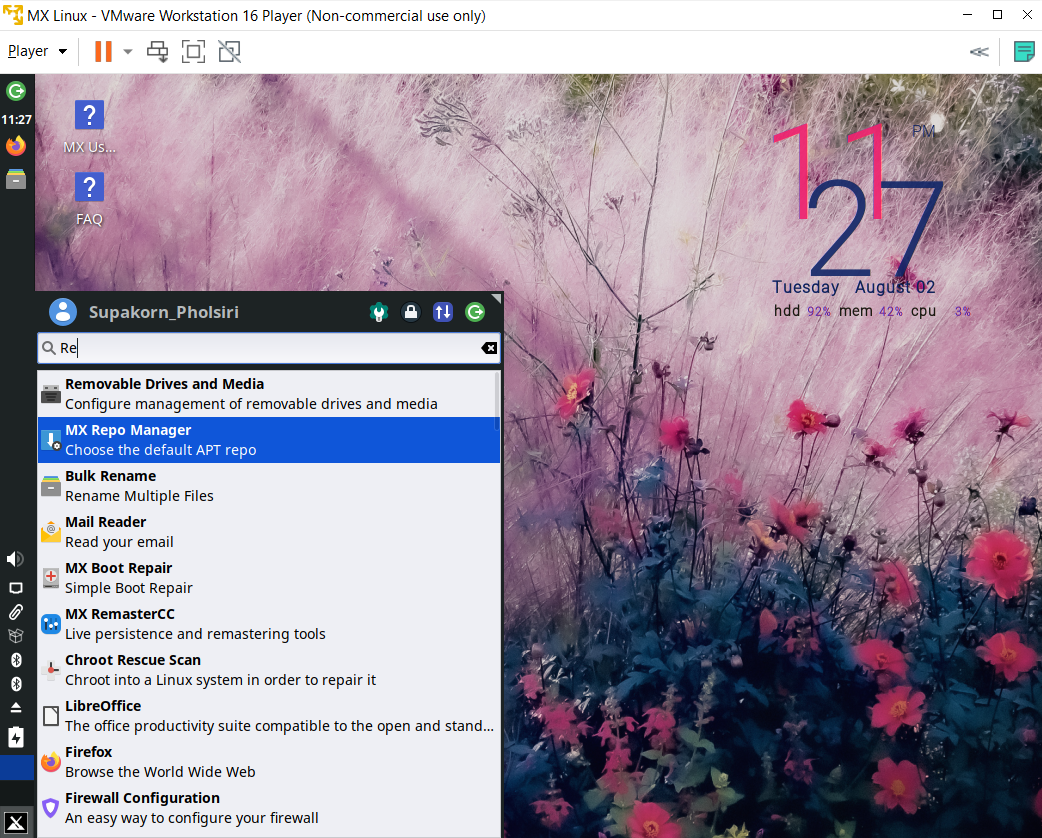
Enter your password.
Select a MX repository that’s close to you or the Utah or Milan mirrors.

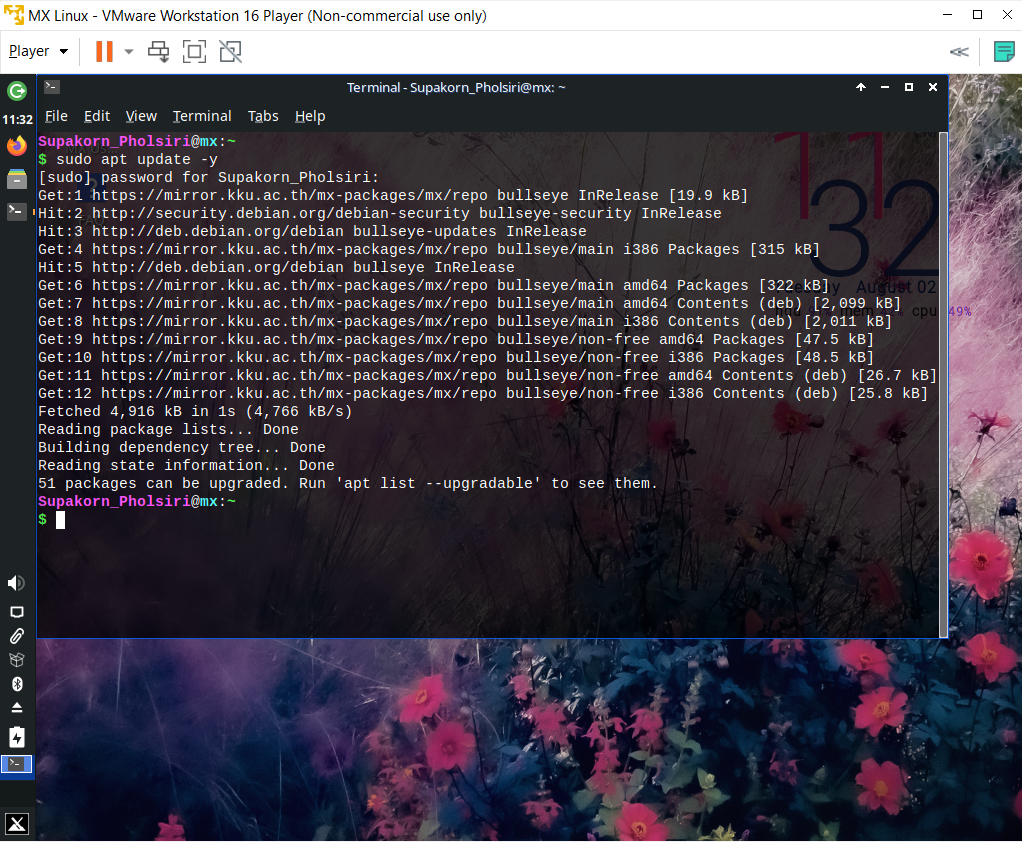
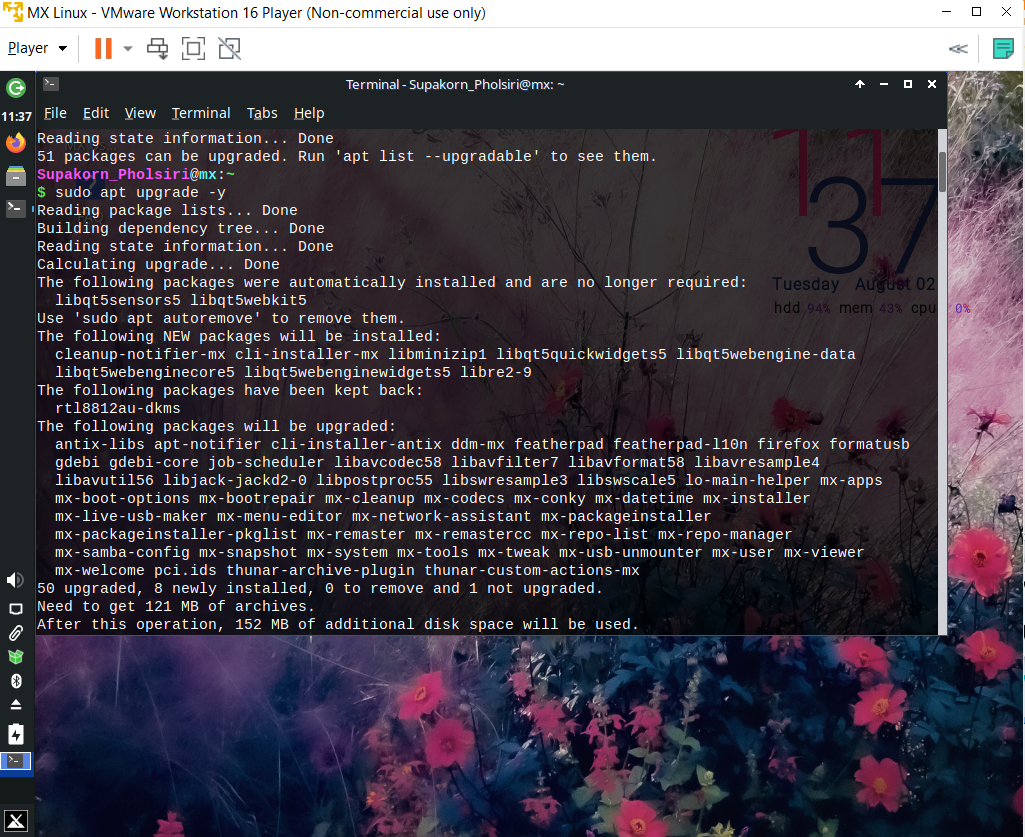
Now sudo apt update and sudo apt upgrade should be working properly.
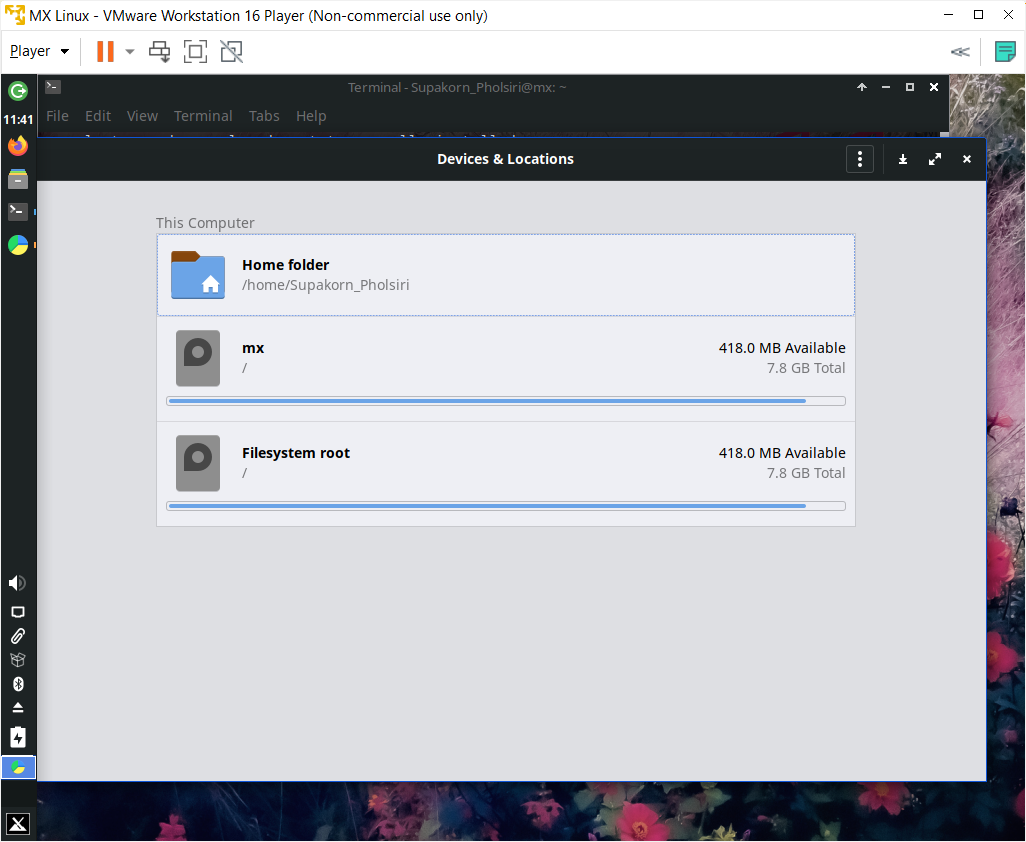
Some more testing.

MX Linux uses a lot more space than Debian did. I’m glad there was still availble disk spaces.