Installing Zigbee2MQTT on Linux
In this blog we are going to cover the topic of Installing Zigbee2MQTT on linux. Make sure you have a MQTT broker ready to be used.
Finding the Zigbee-Adapter
After you plug the adapter use the command below to locate the adapter.
$ sudo dmesg

The adapter was identified and mounted on ttyUSB0 in my case.
Granting permission to serial port devices
Add the current user to dialout group.
$ sudo usermod -a -G dialout $USER
Make sure to log out and log in again after to make the changes apply.
Installation
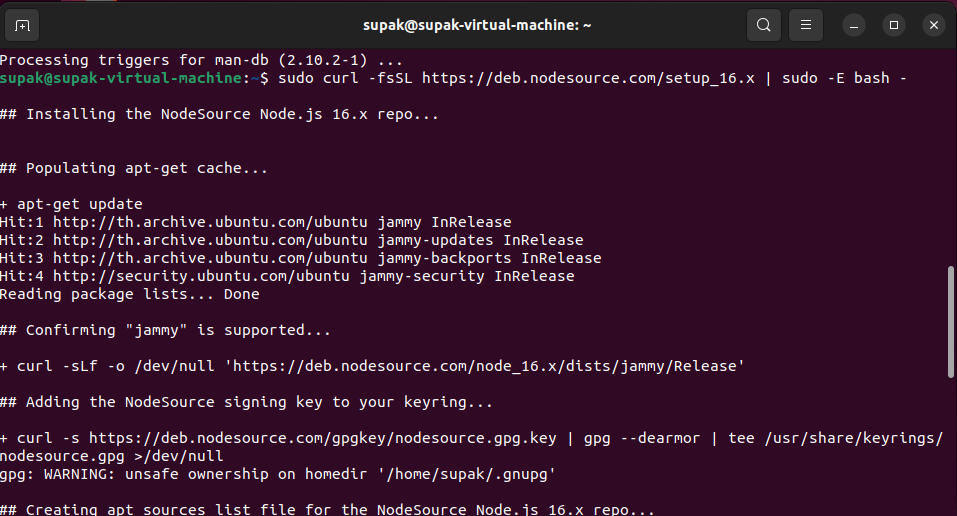
Set up Node.js repository.
$ sudo curl -fsSL https://deb.nodesource.com/setup_16.x | sudo -E bash -

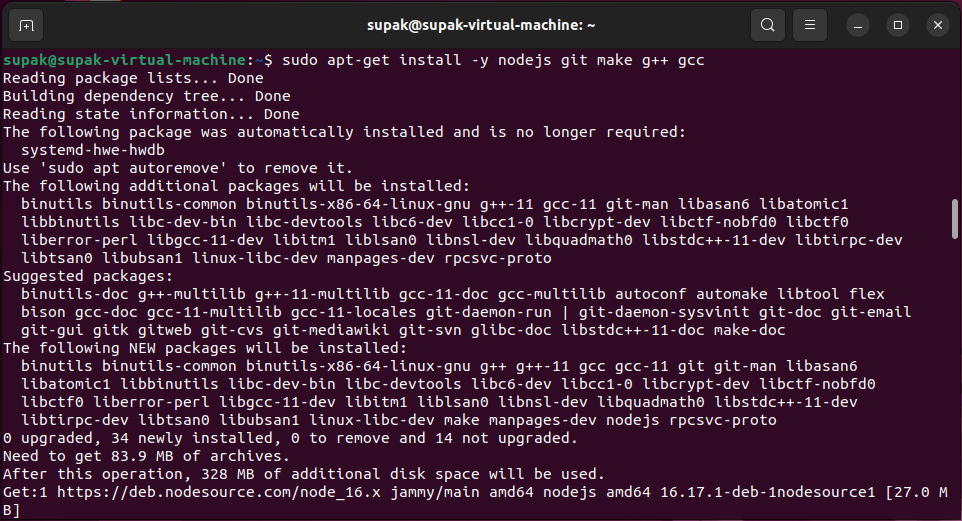
Install Node.js and required dependencies
$ sudo apt-get install -y nodejs git make g++ gcc

Verify that the correct nodejs and npm versions have been installed.
$ node --version
$ npm --version
nodejs version should be v14.X, V16.x, V17.x or V18.X.
npm version should be 6.X, 7.X or 8.X

Create a directory for zigbee2mqtt and set your user as owner of it.
$ sudo mkdir /opt/zigbee2mqtt
$ sudo chown -R ${USER}: /opt/zigbee2mqtt
Clone Zigbee2MQTT repository.
$ git clone --depth 1 https://github.com/Koenkk/zigbee2mqtt.git /opt/zigbee2mqtt

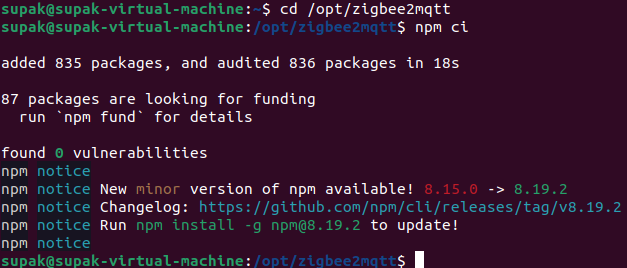
Install dependencies as your user.
$ cd /opt/zigbee2mqtt
$ npm ci


Configuration
Before we can start Zigbee2MQTT we need to edit the Zigbee2MQTT configuration file.
Open the configuration file
$ nano /opt/zigbee2mqtt/data/configuration.yaml
Edit the configuration file
homeassistant: false
permit_join: true
mqtt:
  base_topic: zigbee2mqtt
  # specify the IP address or hostname of your MQTT broker
  server: 'mqtt://localhost:1883'
  # MQTT server authentication, uncomment if required:
  #user: xxxx
  #password: xxxx
serial:
  # specify the serial COM port (The location that the Zigbee-Adapter mounted on.)
  port: /dev/ttyUSB0
advanced:
  # specify the ZigBee channel number
  channel: 15
frontend:
  # enable Web front-end for Zigbee2MQTT on port 8080 (localhost:8080)
  port: 8080
Running Zigbee2MQTT
Go to /opt/zigbee2MQTT and start Zigbee2MQTT
$ cd /opt/zigbee2MQTT
$ npm start
When started successfully, you will see something like:
